Bottle Cap Palette
This post is also available as an instructble.

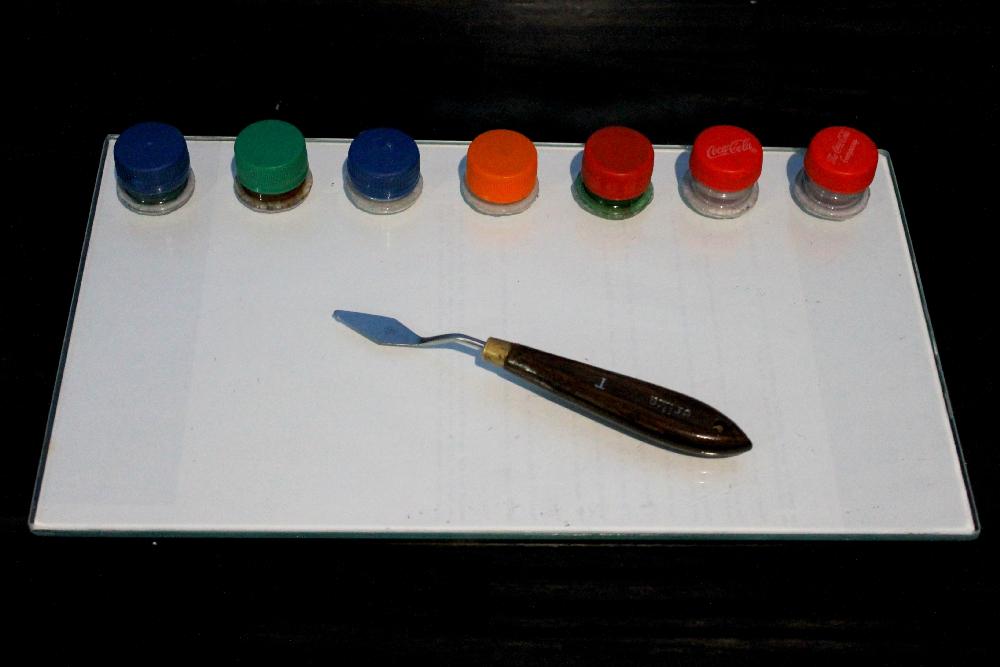
I added a piece of paper so you can see the glass better. I plan on adding contact paper and painting the back gray.
Intro
I think I’ve tried every kind of artist’s palette ever, but none have really worked for me. The best was the typical DIY stay-wet palette (a sponge/paper towels & wax paper in an airtight box), but they all required me to remember to spray them with water every day, the paint would go runny in parts, and the wax paper would start to rip and in general felt weird under a palette knife. I tried a plastic sheet instead of wax paper, but the paint kept less and needed more spraying.
I’ve also tried just using a glass palette (which feels great with a palette knife) and storing away the leftover paint in a little jar (where it mixes to a gray that can be reused), but the pallet had to be constantly spray it so everything was wet enough to scrap off later (dried bits were a nightmare). And I think it only kept in that relatively big little jar because I mixed in a lot of Golden Open medium.
I was seriously considering switching to oils at one point unless I could find/make a palette that worked for me. My only idea was an improved version of the one I had (thinner, better seal, & paint wells that sealed individually against the lid) but it would have been quite hard to make on my own. Then as I was searching around for more ideas I found this palette and I loved the idea of tiny individual containers, but what to use? Most jars I had where to big and all the other plastic containers I could think of were either square (like pill containers), probably not airtight, or had weird grooves (like my contacts cases). Then I saw a soda bottle and this palette was born.
Plastic bottle caps are the perfect size, plus most of them come with a little seal and I didn’t have to buy anything. I tested them during a long painting session (for me, ~3 hours) and they were just perfect. They hold 5-7 ml depending on the cap btw.
They’re technically not doing anything to keep the paint wet, but I can mix more paint than I think I’ll need, either in the bottle cap itself or on the glass palette. Anything that’s larger than a spoon-full keeps wet for an hour or so without spraying. Than anything left over is stored. I still use the plate of glass for smaller variations and mixes, but they tend to be small and temporary. If they dry, it doesn’t matter. It’s a thin layer and can be wiped off usually (if I’m using Open medium) or scraped off after the session. When I’m done painting for the day I just screw the tops back on and put everything away. No worrying that I have to use the paint within 2-3 weeks (which is around what the others lasted), adding an alarm to remind myself to spray them keep them wet, or having them go all gross and runny. They’ll probably keep indefinitely, but just in case I’m currently testing one to see how long the walls coated in paint (with the Open Medium) will stay wet (it’s still wet a week in). They’re also really easy to clean because they’re round. If you’re using clear bottles you can tell what color they are like that or you can label them on the tops/bottoms.
Materials
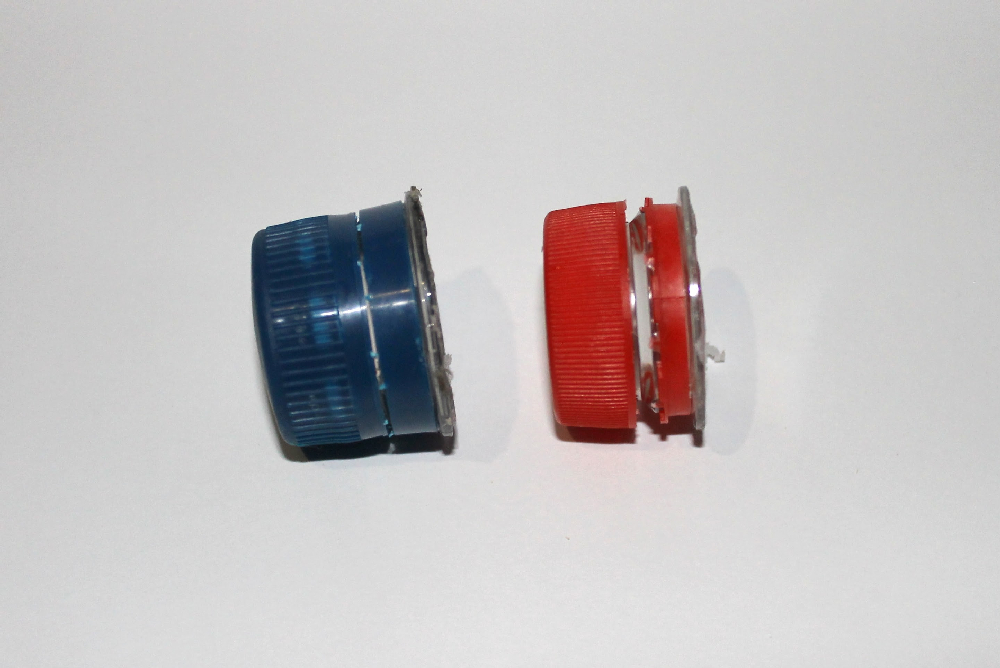
Some are a different sizes.
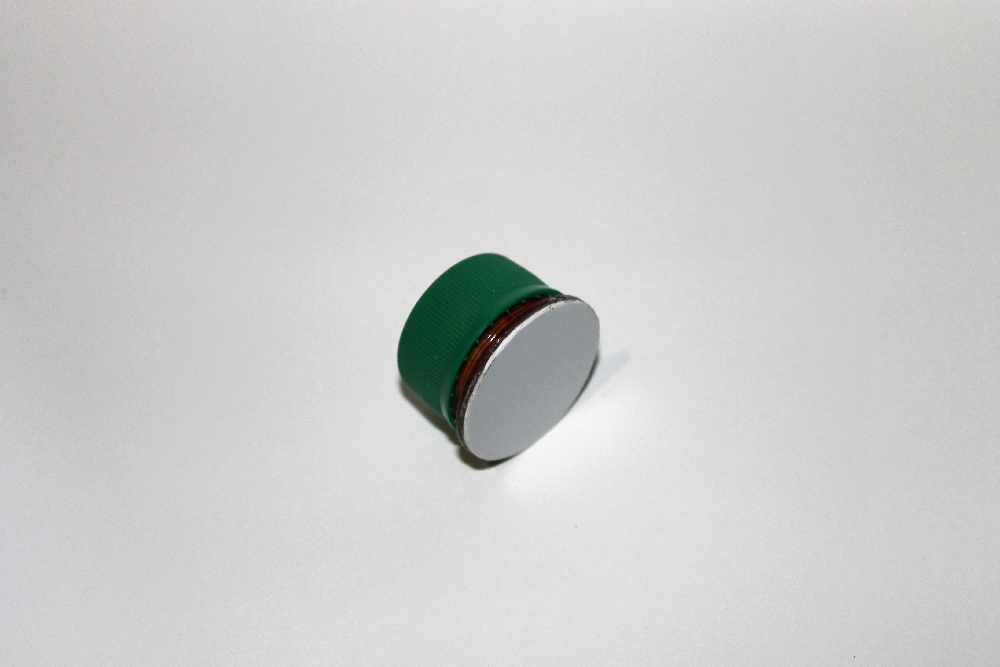
Note the seals on both.
Soda Bottles - Preferably clear bottles. Note that different sizes/brands will have slightly different sized caps. Also try to get the ones that have a seal on the inside.
Plastic Glue Gun - I don’t think crazy glue would hold up well to the humidity (also it fogs clear plastic if you want the bottoms clear), but you could try. I tried model glue, but the paint would start to leak after a few hours. The glue gun worked the best. An alternative might be epoxy glue (update: tried, does not work well, it looks it does but comes off) or silicone.
Plastic Sheet ~0.5mm - I used a piece of white HIPS plastic (Styrene) for model making. But you could use just about anything that you can cut with some scissors. I’d avoid too thin though if you can. It can be hard to grasp and press to the cap before the glue cools, and when I got it quickly it got really hot and warped a bit. Update: I have since made a lot more of these, this time with thin flexible plastic. I had one of these past ones leak. The rest were fine, but the thinner plastic contours better to the rough edges. First I tried the type of plastic old VHS boxes came wrapped in, but that peeled off, so I bought some transparent flexible plastic they sell at the local hardware store, it's about 1mm thick. Seems to have worked better
Something to Cut the Caps Off - You could just use a hand saw or a razor blade, but it’s a pain for more than a few bottle-caps. I tried. The plastic is quite thicker where it needs to be cut than the rest of the bottle. I ended just doing a batch of caps with an angle grinder.
Razor Blade/X-Acto Knife - For trimming excess plastic.
Scissors - To cut the bottom circles out of your plastic. This will probably dull your scissors so don’t use your good ones.
Sandpaper - Not necessary if you got the cut nice and level.
Making the Cap Containers
Cut the Caps Off
It’s best to get the cut as close as possible to the lip/edge, especially if you’ll be using a thinner glue. A thicker glue gives you more leeway. Also before you cut them, take the caps off. I made the mistake of cutting with them on and I had to wrestle some of the caps off. Somebody had shut them really tight.
##
Cleaning Up
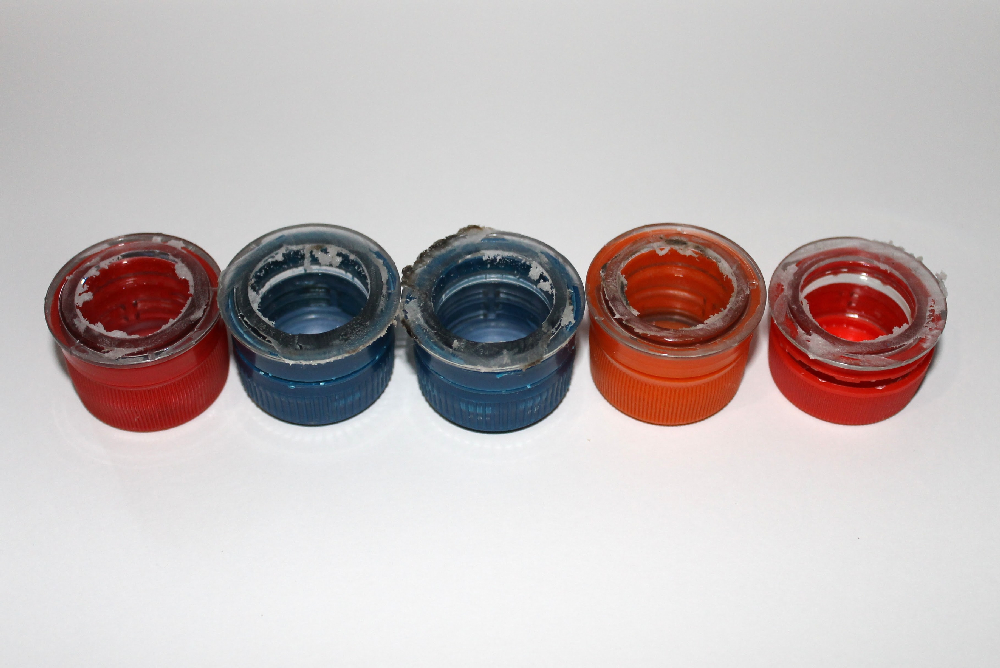
Trim any excess plastic with an razor blade. Sand them if necessary. If you used an angle grinder like I did, the plastic kind of melts and forms these weird layers (I don’t know if you can see one above on the last cap, like a little white triangle). Cut those off if you get them.
Cut off the Safety Rings
Or whatever those are called, so you can have a little window to see your paint colors. Be sure to store your bottle caps away from light unless you leave those rings on and you can’t see any paint at all.
Cut the Bottom Circles
Separate the caps by sizes and then trace your bottle-caps onto your chosen piece of plastic and cut them out. It’s easier with scissors (though it might dull them).
Gluing Them
Using hot glue I found it easiest to put a thick line of blue onto the cap, then press the plastic to it. If you mess up, just wait for the glue to dry, peal it off, and retry. Some glue will seep inside, but it shouldn’t be too much. Don’t try to fix it by melting it to the edge with the gun, it just makes more of a mess. They’re easier to clean if you just leave it alone. Any glue that’s seeped on the outside edge can be trimmed.
Finishing Touches
I didn’t always place the plastic perfectly center so after I was finished I trimmed the entire bottom edge with a razor blade, then ran the hot glue gun over it to smooth it down (the hot glue tends to lift/stretch or rip instead of letting you cut through it).
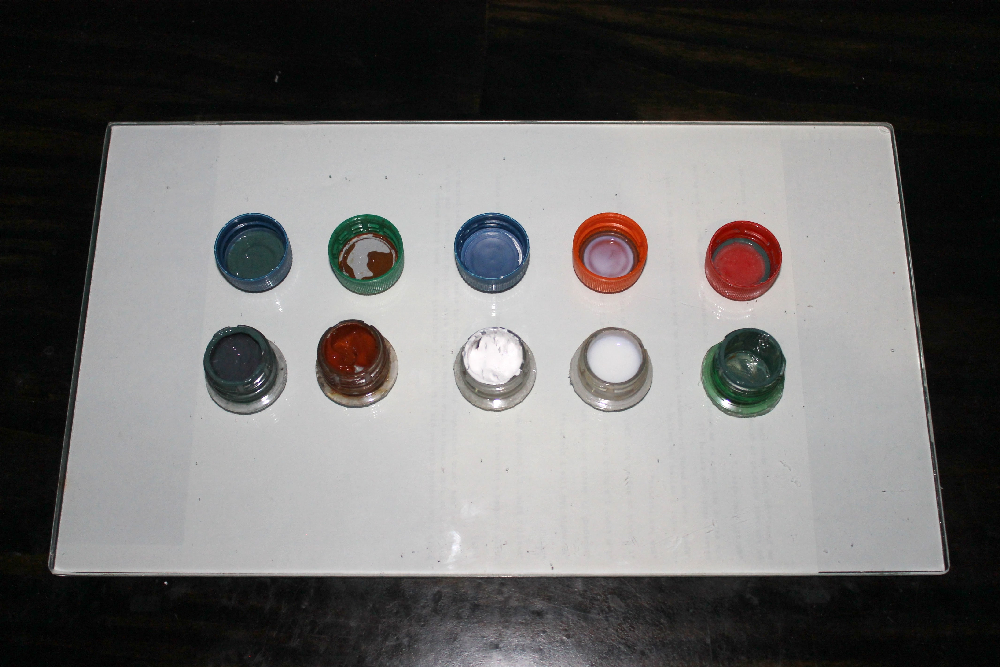
Final Result
I’m using them lose now, just resting them on top or by my glass palette, but they could be glued to an existing palette. I’m considering making a line of them with just the main colors I use because I also find it easier to get paint out of them than out of the tube.
Another thing they come in handy for is keeping different medium mixes. You can dip the brush in and it doesn’t really matter if you contaminate such a small amount. Same thing with dipping into titanium white.
I also have a partial time-lapse video of the first painting I tested them with. Unfortunately I couldn’t find a comfortable place to put the camera, you can’t see the palette, and I only filmed an hour or two. But you can see I’m mostly using the spray for the painting itself, the other times to dilute a glaze mix on the glass. I only sprayed the actual bottle caps the 2 times I stood up to get something and left them open. You get a fair bit of warning if the caps need spraying. The paint around the edges will start to thicken and dry first, but that can take anywhere from 30 minutes to an hour, and the paint inside will still stay wet. You could not spray them at all and just peel off any dry paint around the edges at the end of a session.
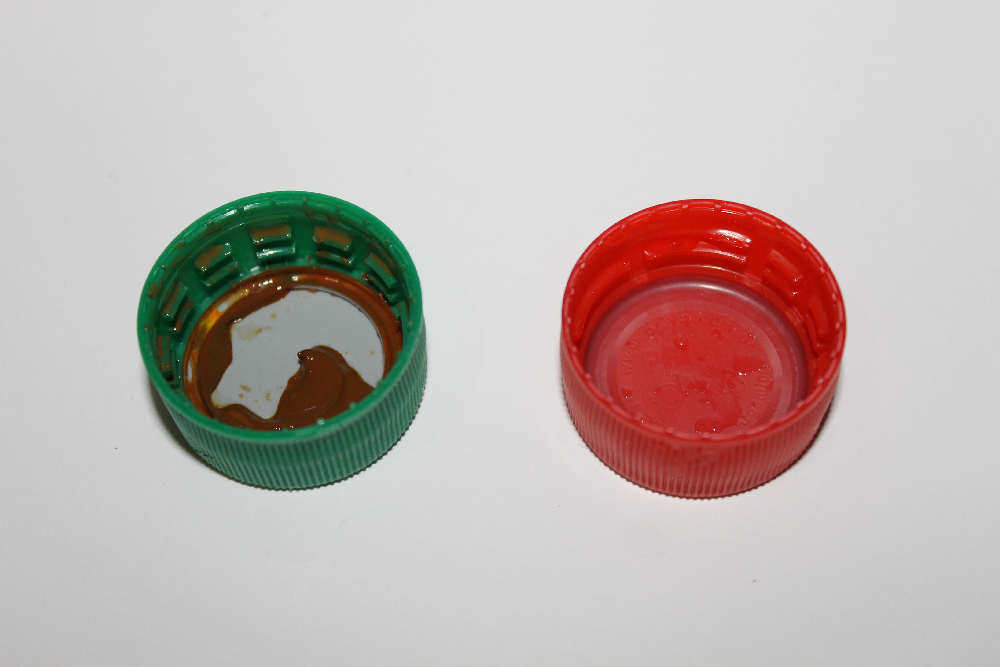
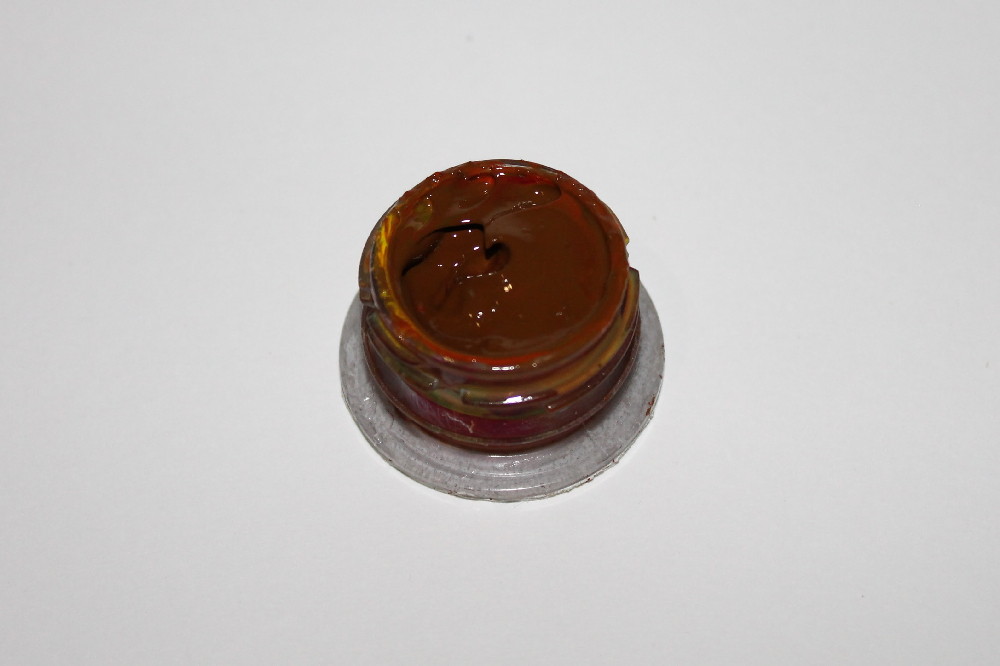
As for my drying test, see the last bottle cap. That small amount of paint (with Open Medium) was still wet after a week, so I think that’s a huge success. Had I done that in any previous stay-wet palette it wouldn’t have lasted more than a day without spraying.