Easily Pour Paint from Small Cans
You can also find this post as an Instructable
Small Update
I’d hoped to have my drawers done by now but they’ve taken longer than planned even though I’ve been working an average of one hour a day for a month, which is incredibly productive given my state. The structure is finished but it’s the little details that are taking a long time. I don’t want to stop posting completely though so in the meantime I’ll be making a few posts about the things I did to make the project easier on myself. These will technically be posted in reverse order that I made them because I only have the prototypes now, I didn’t actually make the finished tools.
Also since figuring out a method to get paid I’ve been working on creating a Patreon, and getting a YouTube channel set up and everything so I’ve been very busy. It’s not done yet, but if you want to support me check it out and/or share my posts.
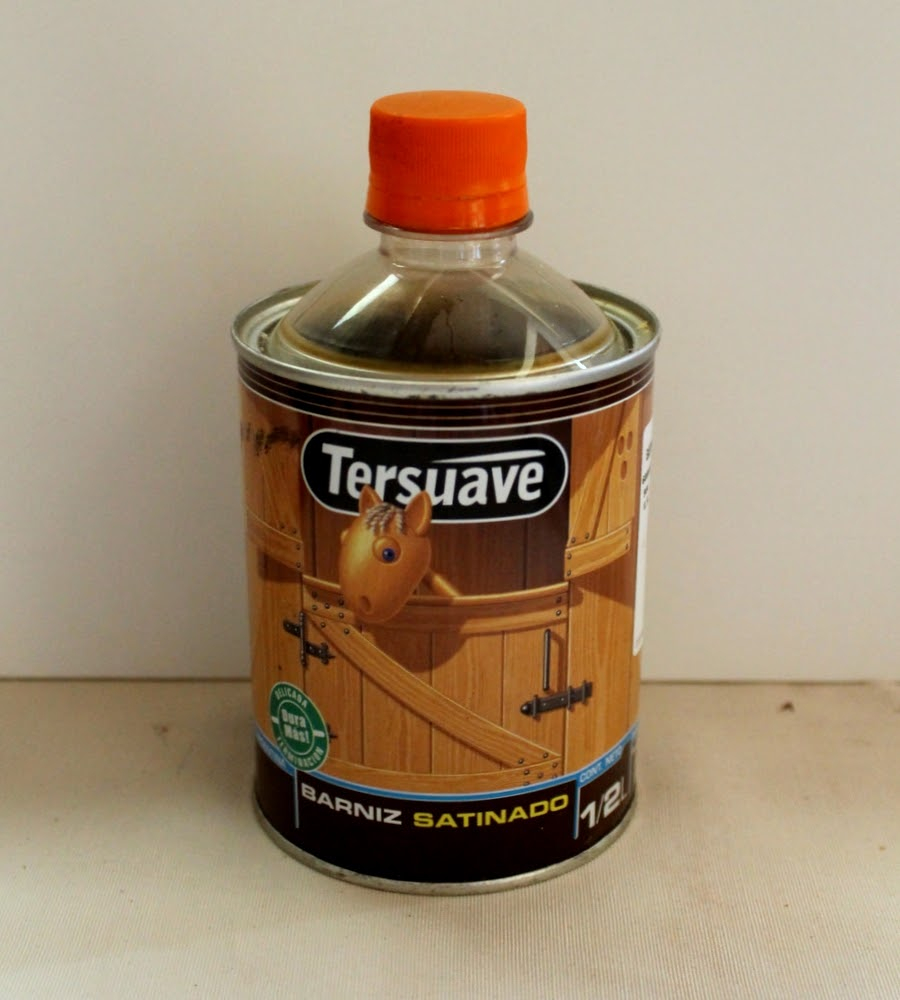
Paint Cans
We all know what a pain it is to pour paint out. I tried to google to see if there was some sort of life hack for this but found none so I made my own. I honestly don’t even know why we still use cans shaped like they are. I get not using plastic because the metal is probably easier to recycle and more resistant (plus it keeps out light), but surely they could add better lids. This isn’t so much a problem on big cans for me, so this solution doesn’t work for them. With bigger cans you usually need to use large amounts at once and you tend to use the can all at once (say to paint a room) so controlling the amount isn’t such a problem. But with small cans this works great and I’m sure you could modify this to something larger if you find a large enough bottle, or you could pour larger cans into smaller empty ones and reuse them if say you bought something in bulk but only use a small amount at a time.
Materials
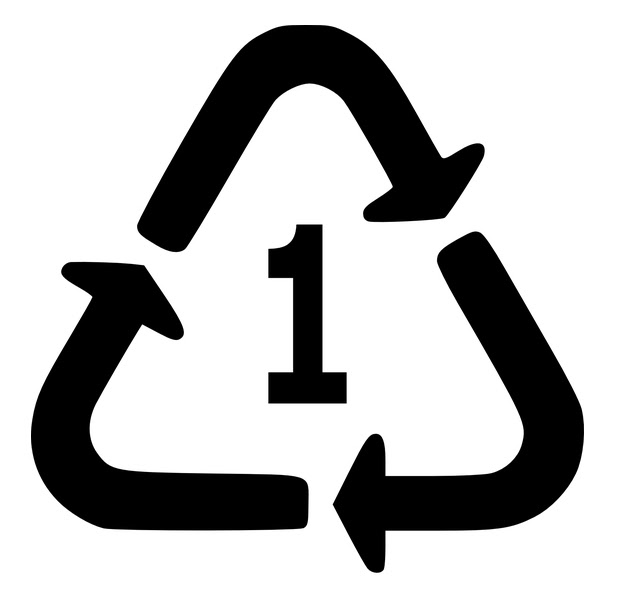
Soda Bottle or any Plastic Bottle that has a Recycling 1 - PET or PETE plastic is resistant to most chemicals (mineral spirits, etc) you’re bound to come in contact with if you’re doing art/diy/woodworking (so paints, varnishes, turps, etc). Here’s the PET specific chart because some of them are missing from the next link. If you’re working with other types of chemicals you can check to see what plastic type is resistant to them. This is the most comprehensive chart I found. Great to keep on hand for reference. Keep in mind the substance will only contact the plastic shortly so even if it doesn’t have excellent resistance this will still work.
Scissors/Razor Blade
Calipers (Optional) - Makes it easier to get the diameter of the opening right.
Silicone Caulk/Epoxy Glue (Optional) - To permanently glue it in place.
Steps
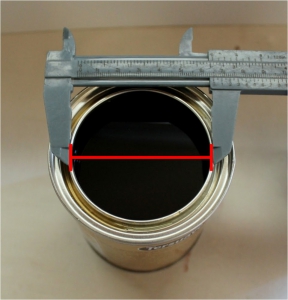
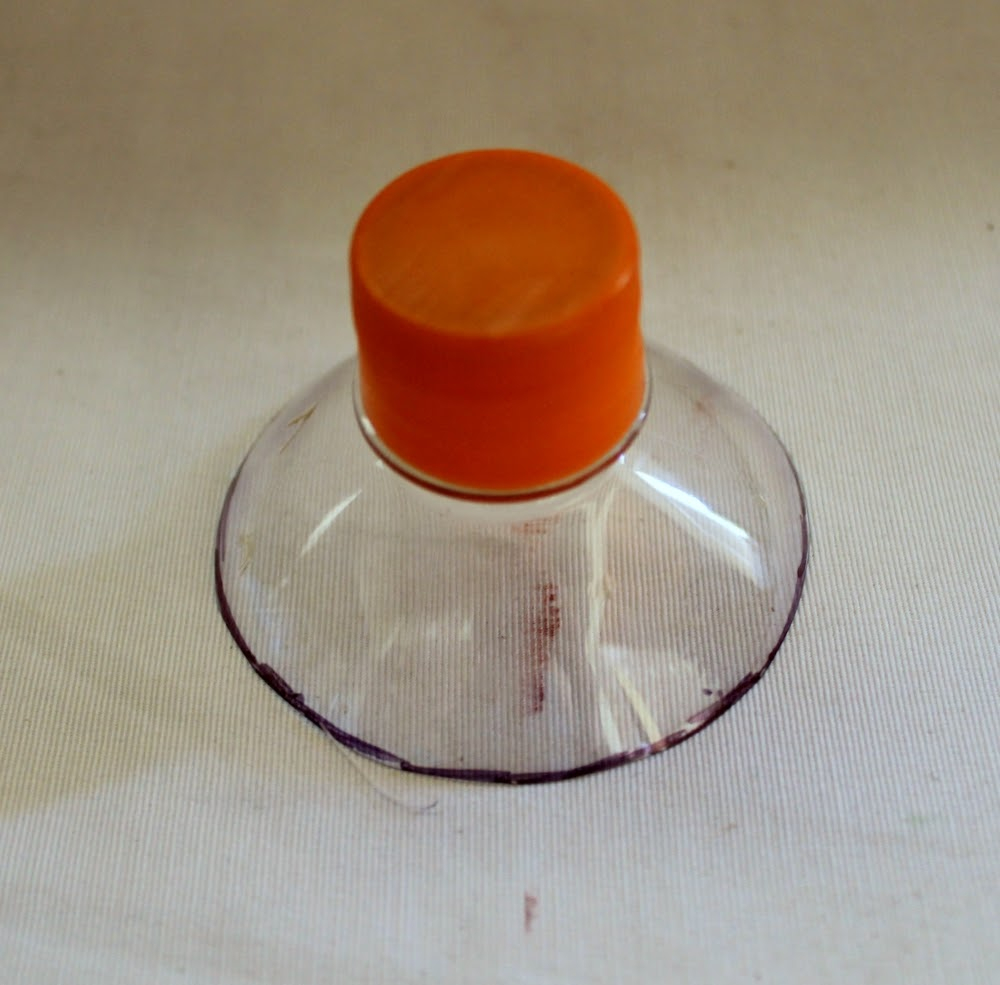
First you’re going to want to measure the diameter of the opening of the can. You’re going to cut slightly bigger than that. You can just use the groove in the sealed cap for reference. If it fits that, it’ll fit the can.
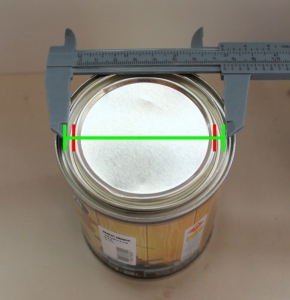
Then with the calipers it’s easy to mark this line on the bottle but you could also just cut it by eye and adjust it as you go on.
Once it’s cut clean the bottle, let it dry if whatever you’re going to be capping does not mix with water.
Place it over the sealed can. It should fit snug against the cap/opening.


Now you can open the can and hold it in place and pour. If it’s a glue or a varnish if you just let it get around the rim and leave it for a day or two it should seal by itself. I’d still suggest holding it, but you won’t need to be as careful. You can do it with one hand like I did below and wipe the cap with the other when you’re done. You cap it like a regular bottle and it’s much easier to clean if it’s a very sticky substance. Update: A few weeks have passed and I finished the can so decided to take it ff, and it actually took some effort, so the seal is good when it does end up forming.
If you want this to be permanent you can glue it in place with some silicone caulk or epoxy glue or something. The can edge should be clean/dry when you do this so it’d be best to do this the first time you open the can. If the substance is very light sensitive you should keep this in a dark place or alternatively cover the plastic cap with a layer of paint or a dark plastic bag or something.
Final Result
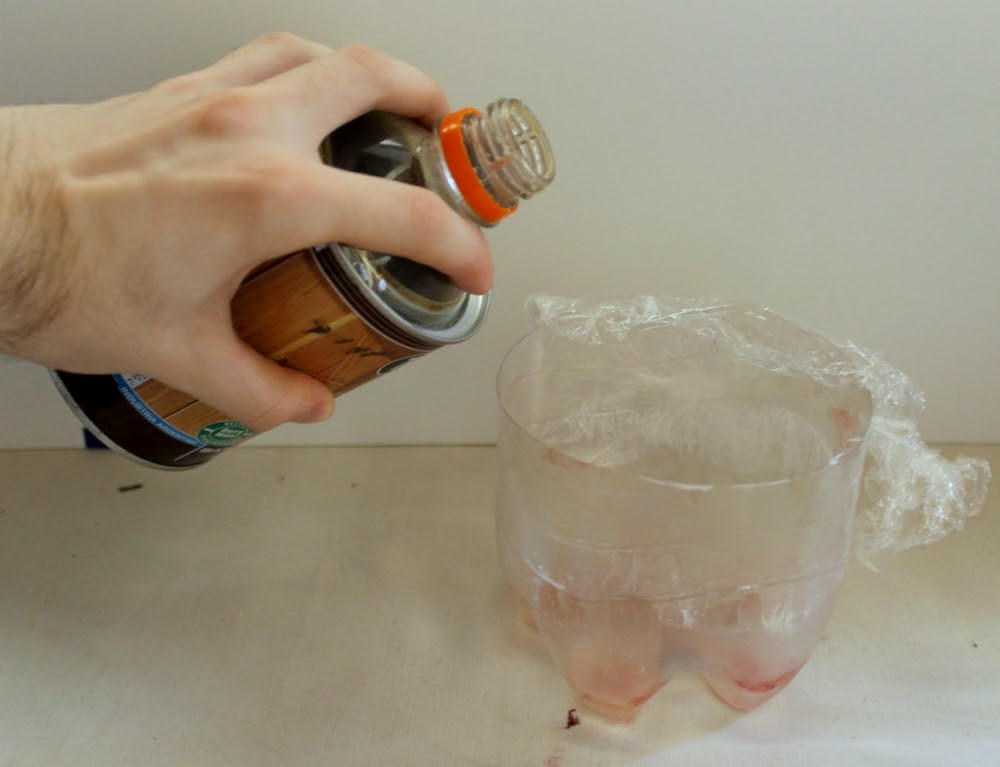
And there you go! Easy cheap solution, and you can also then use the bottom of those bottles to hold your paint/varnish like so. And with some clean film you can get it to keep for a day or two if you have a small amount left over (depends on the substance). You can also leave your brush dipped in a little bit of turpentine or mineral spirits if you’ll be using it for a few days straight and don’t want to be cleaning it constantly. Basically it’s a great endless supply of disposable containers.
If the cap on the bottle gets stuck you can also just un-stick the entire thing (if you didn’t make it permanently) and just make it a brand new one.