Magic Lantern on My Canon Rebel T3/1100D
Magic Lantern
When I first got my camera I knew next to zero about photography. I had heard about magic lantern but I was too afraid to break something so I never got it and eventually forgot about it. Lately though I’ve been wanting to push the limits on my camera It’s been broken in, I know more about photography, and I’ve finally gotten some vital accessories like a tripod and a remote control.
I really like macro photography and I’m also interested in doing small stop motion animations with the ship models I plan to build so I was looking up ways to increase the depth of field (increasing the depth of field is what makes them not look like miniatures). I’d come up with the idea of taking several pictures at different focuses (focus stacking, though I didn’t know this was an actual thing that had a name) but that hadn’t worked well without a tripod. Now that I had a tripod I thought I’d test it again. It worked better, but there was no way to adjust it the same every single time the way I needed.
My mind was already working away in the background suggesting all kinds of complex jigs, when I finally thought I should probably do a Google search to see if this is possible with the Canon software that lets you control the camera from your computer. It’s not, but apparently there were other programs that could do this very thing. Well I searched around some more because I was also interested in finding if there was some way to improve the video (there isn’t, or at least it’s not noticeable), and magic lantern came up. Turns out it had a focus stacking feature. It was also much easier to install than I anticipated.
Installing
First check if your model is supported and what is supported, for example Audio Controls are not supported on mine. :(
You can find the ML builds here. Be sure to get a non-failed one. If the nightly build failed on your model like mine, click Show Older Builds, then scroll down and find one that doesn’t say (failed). Instructions on how to install it are here. Read the warnings and check your current firmware is the right one. The instructions are pretty clear, if they’re not there’s plenty of videos out there detailing the process.
Once you have it installed it can be a bit glitchy and confusing, but even thought it couldn’t do much about the video in my case, some of the other things it can do are incredibly useful. It’s to the point that I don’t get why Canon doesn’t program some of this stuff in.
Anyways, here are some of my favorite ML features. You can find the documentation on them in the User Guide. I’ve linked each of my headings to theirs to make it easier.
Focus Stacking
What I was looking for in the first place. It’s really simple.You focus, choose how many pictures in front and behind, the steps between each picture, and that’s it. There’s also more advanced options like setting it to the rack focus range.
Usually 2-3 is enough to bring something the size of a small model into focus. Also if it isn’t obvious, since this works by controlling the focus ring in the lens, the camera needs to be connected to the lens with AF on, so in any instance when you don’t have that connection, you also can’t photo stack, in my case, I have one of those cheap macro extension tubes that you screw on, so any macro shots done with those still need to be focus stacked manually. It’s not much of a problem though because unlike the stop motion situation, I don’t need to repeat the same maneuver perfectly every time, it’s just one picture I’m usually trying to get. Magic Lantern also has Focus Peak,which makes this type of manual focusing ten times easier.
Combining these in Photoshop
For some reason File > Automate > Photomerge does not have a Stack Focus option. It’s supposed to be the equivalent of the following menus/actions: File > Scripts > Load Files in Stack, Edit > Auto-Align Layers, and Edit > Auto-Blend Layers but the blend option doesn’t really make a difference. It’s like it wants to do a Panorama blend but there’s no way to change this like there is in the Auto-Blend Layers menu. You have to turn the blend option off (else you get layer masks) when you import your pictures with Photomerge, then select all the layers and go to Edit > Auto-Blend Layers manually and choose Stack Images instead of panorama. Also check Seamless Tones and Colors if the light changes significantly between each picture (you should try to avoid this), if not, leave it unchecked.
This could all be made into an action probably. If I get around to it, I’ll upload the individual action.
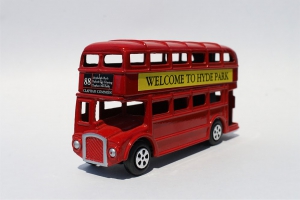
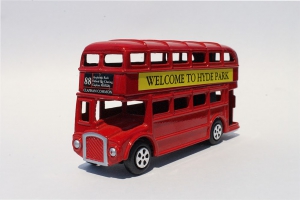
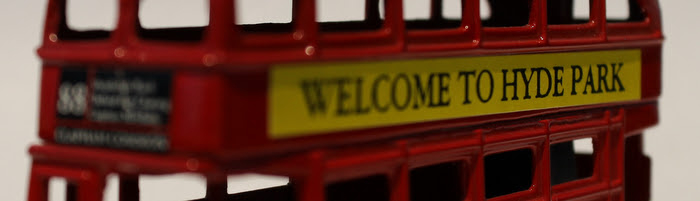
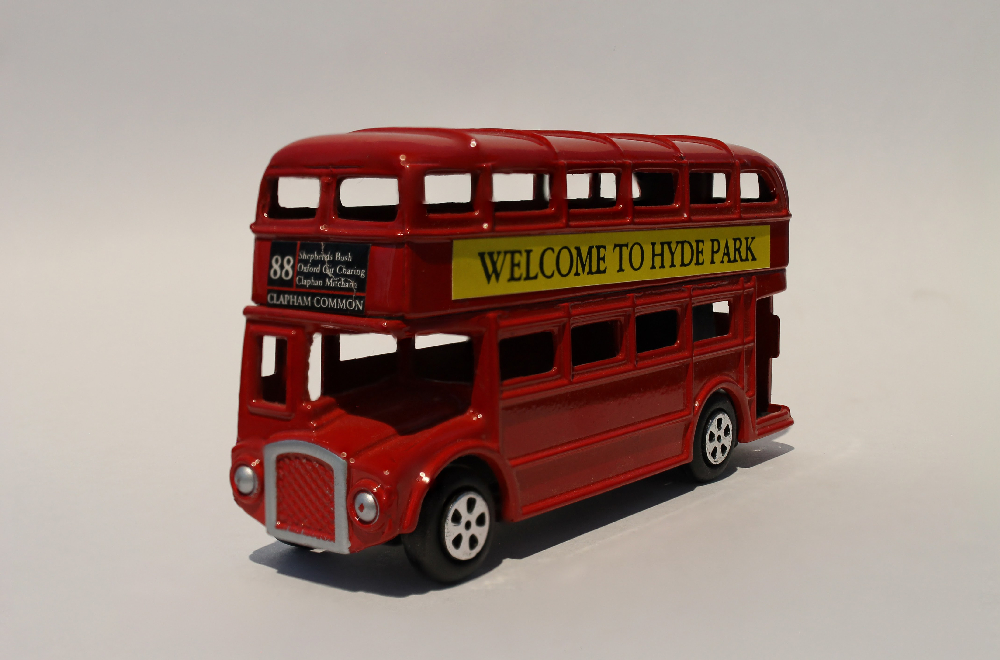
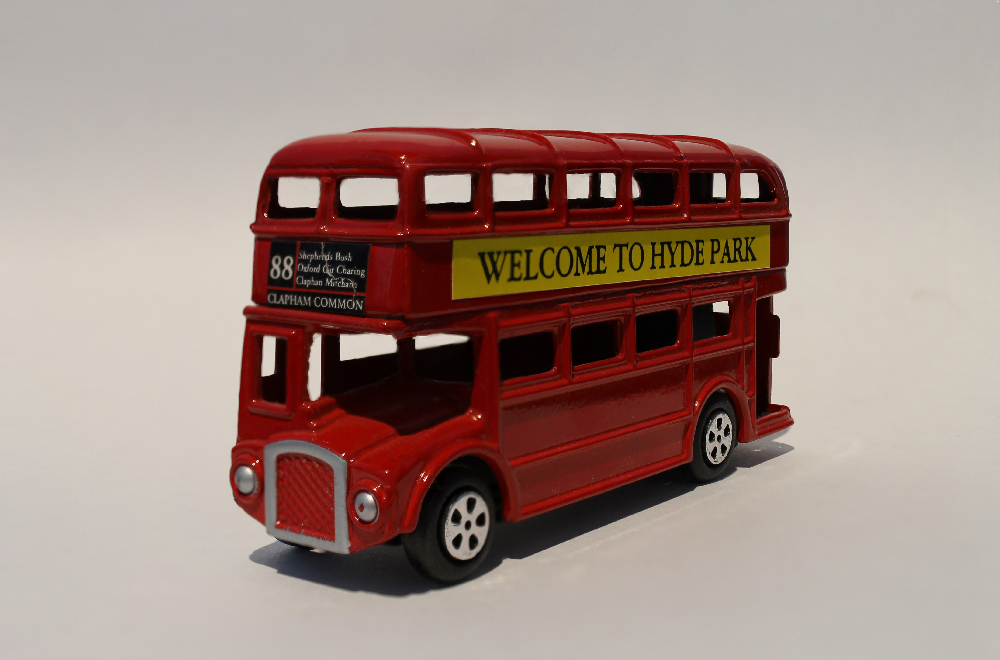
Example
Here’s is an example picture I did of a little red London bus I have. It’s 8cm long. It isn’t to any specific scale because it’s supposed to be a pencil sharpener (it can’t hold the shaving but this one at least works, I have a similar phone box which you can’t use because you can’t get the shavings out!).
Fixing DOF without Focus Stacking
Now with something this big and no background you can just solve the DOF issue by using a really small aperture (high F-stop) and really slow shutter speed to compensate for the low light coming in. Here are two separate examples and a zoomed in section for comparison.
f/16s, 6s
f/29s, 30s

Left:f/16s, 6s | Right: f/29s, 30s
I’ve only done some small color correction because the left one came out slightly darker (I should have exposed it for longer). As you can see there’s still some fuzziness near the back on the left one but not very much, and on the right it’s completely gone. Had I had a background though, this wouldn’t have been the case with the background. So if I had wanted to put two models into focus, this wouldn’t have worked (I unfortunately don’t have the space to demonstrate this at the moment).
Fixing DOF with Focus Stacking
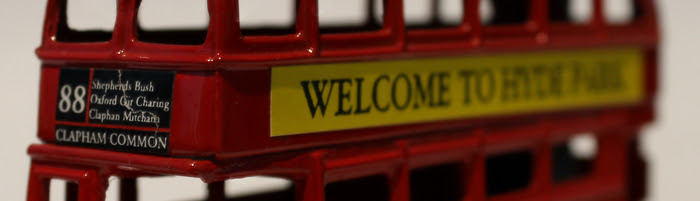
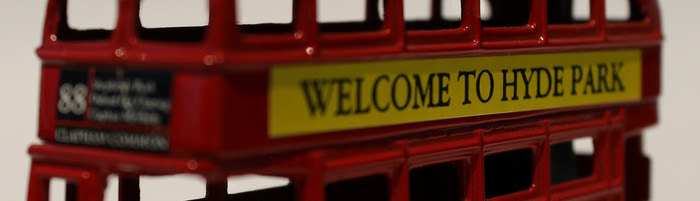
First some closeups of the seven pictures I took. These in comparison where taken at f/6.3 (to make my life slightly easier), and 1s. You can clearly see the depth of field slowly changing.
Stack Step 1

Stack Step 2
Stack Step 3
Stack Step 4

Stack Step 5
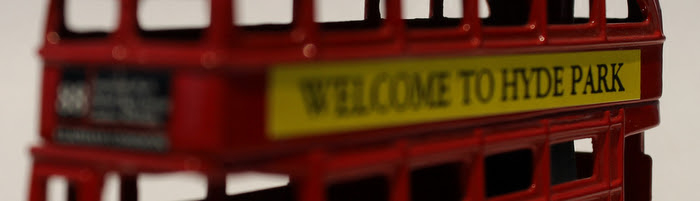
Stack Step 6
Stack Step 7
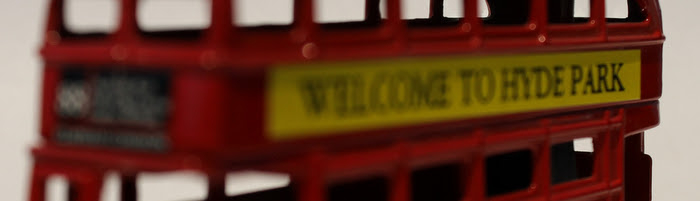
And here they are all merged by Photoshop. Now I chose the bus because it’s a good example of an object Photoshop isn’t that good at merging.
Merged with Photoshop
You’ll notice the windows and some of the highlights in the front look a bit odd. If you want it to look better you either have to give photoshop more data, so more pictures, better pictures (higher F-Stop), or you have to merge it by hand. At this size, like I said, you can just increase the F-Stop and with 2-3 pictures you’ll be good, but if this were a tiny flower you might need as many as I did here and depending on how many closely overlapping sections of focus (the windows) you have, even more unless you want to do it by hand.
Merged by Hand
Here’s the picture merged by hand for comparison. Note I said merged, not fixed. The way Photoshop creates the masks makes it very confusing to try to fix the merge it creates. I recommend aligning the layers in Photomerge but not blending them, then going from back to front, with the back one without a mask, then adding masks, setting them to black, painting in anything that is more in focus, and “erasing”/masking out anything that isn’t. Rinse and repeat until you reach the front. Be careful that the front of the object isn’t always in “front” layer. In the bus for example, only the corner is in the front layer, the left side isn’t.
I’d actually recommend not taking more pictures and trying to do it by hand just to save shutter actuations if you plan on doing this a lot, especially if it’s just a single shot you want to capture. Sometimes you might not be able to get the subject to stay still enough for so many photos either (this can also affect how high of an F-Stop you can go to).
It only takes 10-15 minutes to fix, even less with a tablet. The one picture scenario is usually my case for something tiny enough to need so many pictures. Any stop motion I’m planning is at this scale or larger. Plus with stop motion since each picture is a frame it’s unlikely people will notice the tiny mistakes Photoshop makes so it doesn’t really matter. Consistent merging will look better than inconsistent merging by hand.
Focus Peak/Zebra Luma
Focus Peak lets you see areas of focus on the screen as tiny colored dots so you don’t have to be using the digital zoom to check things are in the best focus. It’s incredibly useful, specially with macro photography where I’m usually resting the camera in really odd positions that make it impossible to properly see the screen. With a glance I can check the dots are in the right place.
It also has an option to display overexposed areas with those zebra stripes.
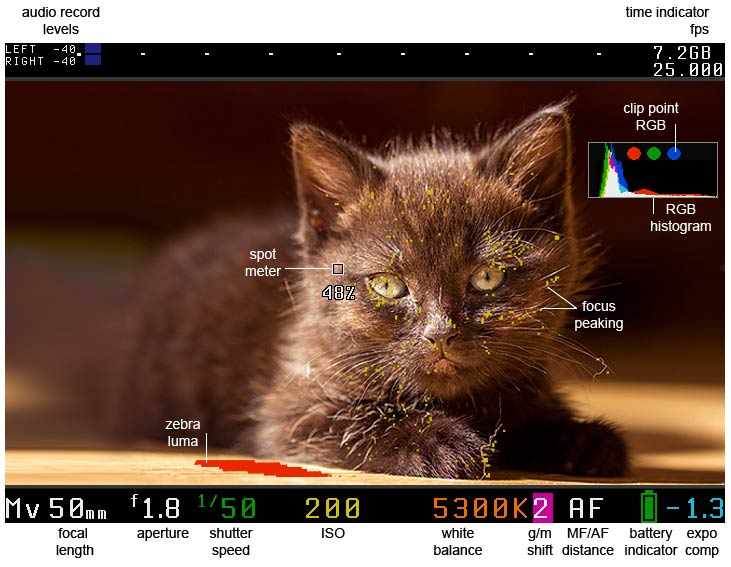
Image by Magic Lantern/used under CC-BY-SA
Trap Focus
I haven’t really put this one to much testing, but it seems like something I’ll be using a lot. Basically when the image comes into focus, it snaps a picture. Just turning it on though, it snaps the moment anything comes into focus so you have to change the AF point. ML also seems to provide some way to use custom focus patterns, but I haven’t tried it.
The one big problem with this feature is that it bugs out. It might just be me, but even though I have it set to hold AF + half shutter, half the time I have to go back into ML’s menu than out to get it to work again.
FPS Override
This is my favorite though, because I wasn’t expecting it the use I found for it. I was more interested to see how much the frame rate could be increased. Turns out not much. 35 is hardly an noticeable over the 30 fps it could do before, and you can’t get audio with FPS Override on. But doing the opposite, that is setting the frame rate really low, solved a different long time problem I’ve had.
Before if I wanted to record a video, first I’d have to do it in 30 minute increments, and second, it would just eat my battery and really heat up my camera. I mainly wanted to record time-lapses of me drawing, so all that mess just to later speed the footage up and drop 1⁄8 of the frames. I knew Magic Lantern could solve the time/size limitation with automatic restart, but what I didn’t realize was that by setting the frame rate really low it would solve everything. I tested a video outside in the shade at 2 FPS (1 FPS seemed to have a problem where it would take too long to stop the video recording, I don’t know why). The camera lasted 3 hours, by the end of which it still had a bit of battery left, and it didn’t heat up nearly as much. Then there’s the added bonus that everything is already sped up for me when I play it back. I barely have to edit any video before uploading it.
I’ll be trying it out on some sketches soon.
Other Updates
I was going to do the post about my chest but there were some delays. I’d glued on one of the front borders slight off and when I tried separating the boards they broke completely. This had happened plenty of times and the boards had separated just fine after some hammering and plying, but apparently this time the glue had really sunk in or something. It was like trying to separate two thin lego. I did have plenty of leftover boards, but they were all the moldy ones and this was the front so I had to get yet another board. I cut it in half length wise already which is the most problematic part because the table saw is a pain to move outside. So now I just need to sand it and cut it too length which I will probably end up doing with a hand saw out of sheer laziness.
I found a place that sells relatively cheap thin (less than 1mm) HIPS plastic in small quantities so I’ll finally be getting some. No more scavenging for plastic.