Modifying IKEA Andy Drawers
You can also find this post as an instructable.
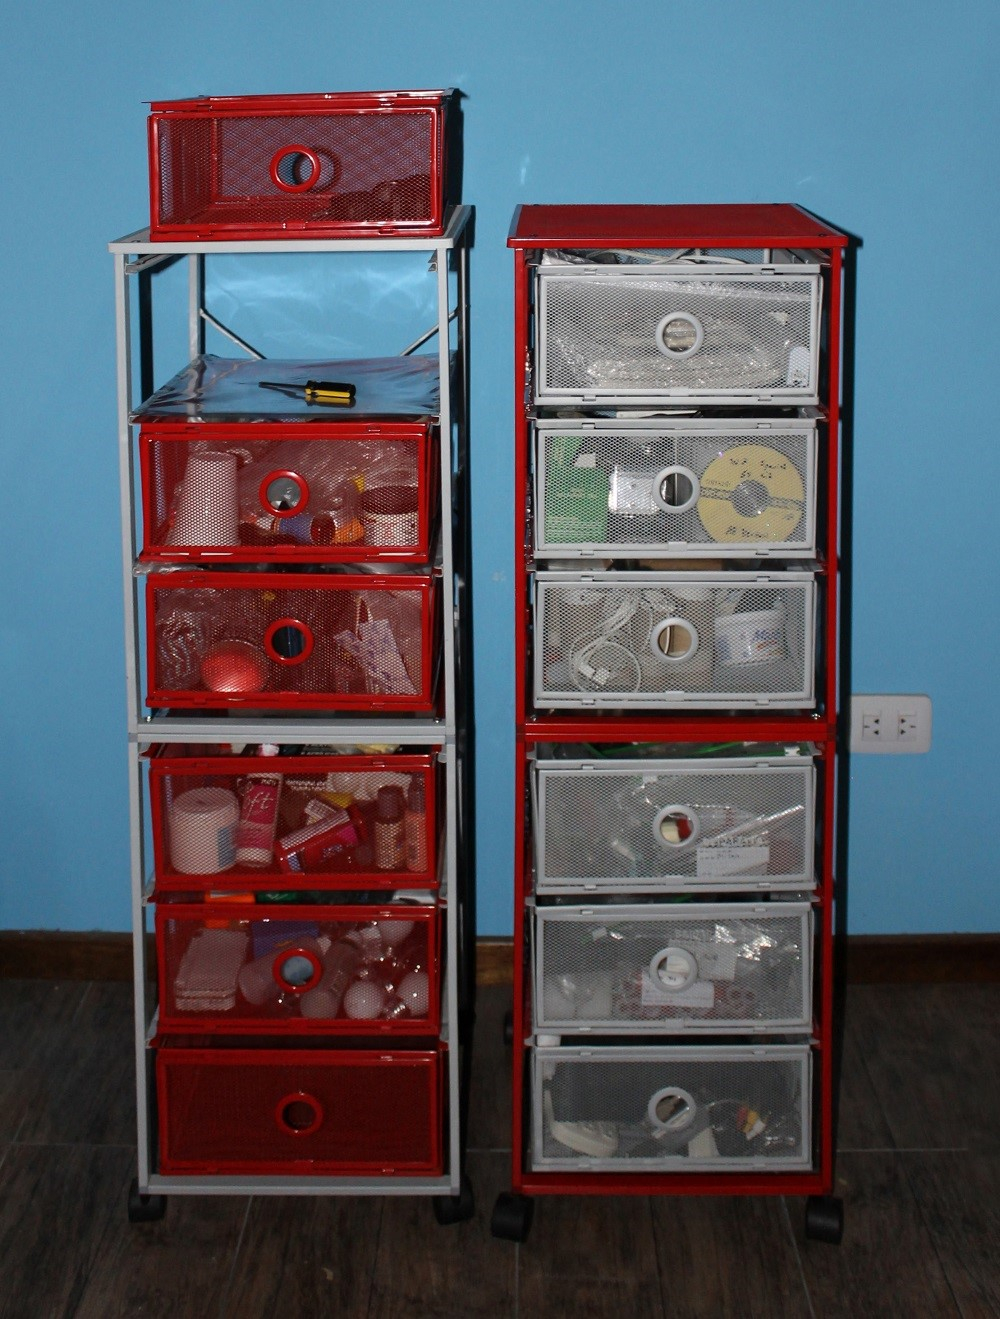
I’ve had four Andy Drawers (two red, two grey) for years. They’re great. I really like them because they’re really light and portable but at the same time they do have some problems. The first is the dust. This wasn’t so bad before but now I live somewhere really dusty and I had to stop storing any sort of paper in them because they’d get all gross. The second is that if you happened to get the ones with a matte finish (grey), the drawers don’t slide nearly as nicely as with the glossy ones.
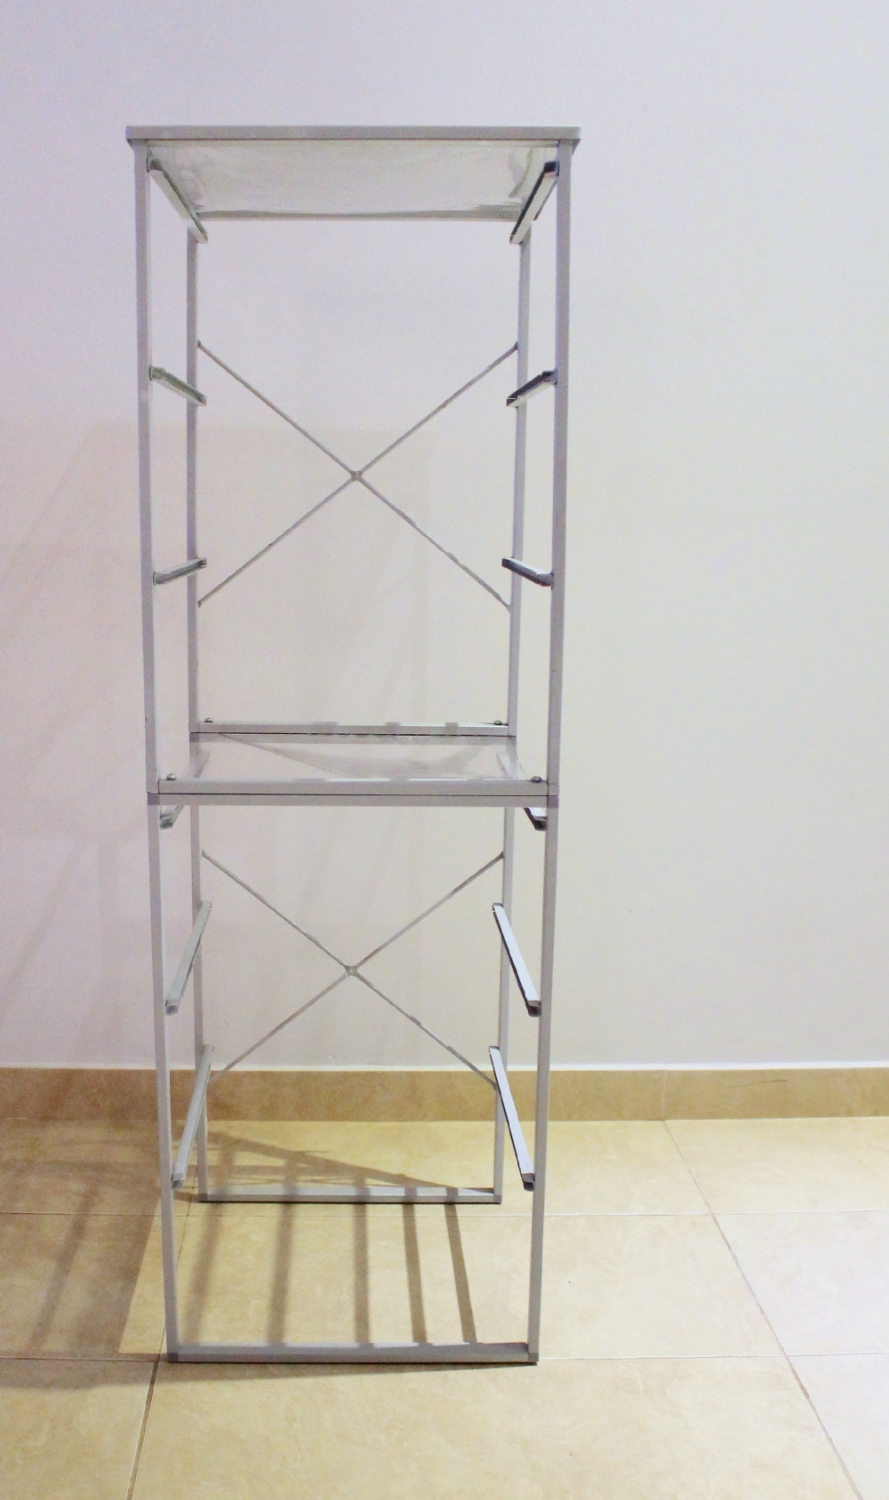
Lastly, only two really fit under my desk, I can’t see anything when I go search for something, I bump into them with my chair all the time, and the other two are always in the way when I don’t need them, and too far when I do. So apart from fixing the first two problems I’ve also decided to put them one on top of the other both to save space and fix the light problem.
Materials
2cm Screw - If you’re in the US you’ll probably be able to find the exact same type that came with it, just longer. I got the next closest thing.
Plastic - Thin rigid sheets work best, but I had already made mine from flexible plastic a while back. I’m not sure what this plastic is used for, but it’s sold at the hardware store here.
Steps
Drilling the Necessary Holes
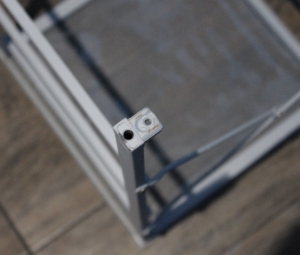
Bottom of Drawer
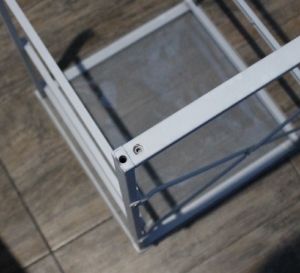
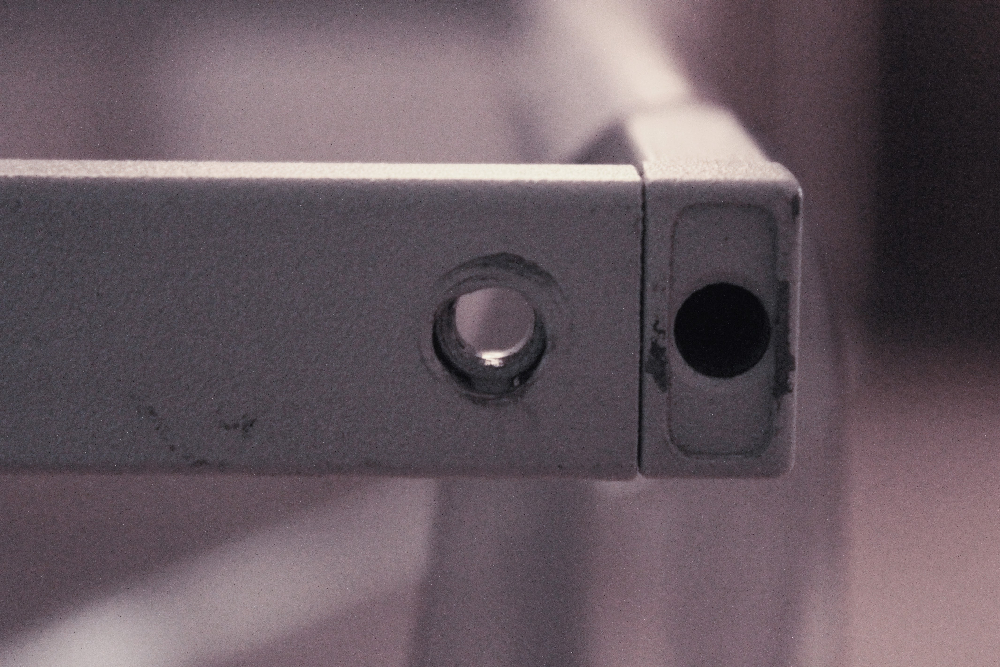
Corner w/ Sides
First, decide which is going to be the top drawer. Always be checking before you do anything that you’ve got the right one and in the right orientation(you can tell this by the indents on the drawer guides). Next you’ll need to take off it’s wheels and turn it over. Undo the four screws holding everything together. One side will come out quite easily. The other you’ll probably have to unscrew on of the screws holding the X shaped back.
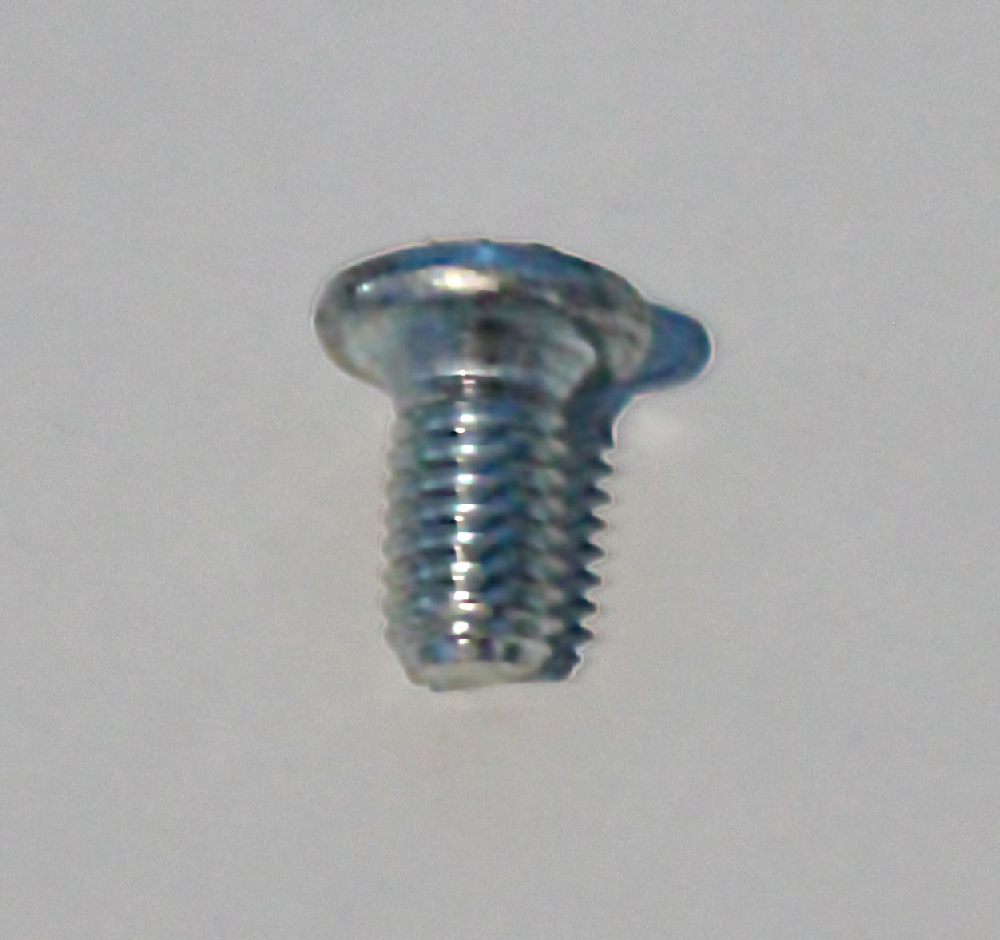
Original Screw
If you found the right screws and they fit nicely, you’ll only have to drill through the top drawers two sides. If not, once you’re done drilling you’ll have to drill through the corners as well.
Unless you didn’t find the right length screw you don’t need to do anything to the drawers going on the bottom. Just undo the screws holding the metal mesh. You can leave the mesh or take it out depending on if your screws reach.
Alternatively if you could only find really long screws, you could drill all the way through the top sides of the bottom drawers and hold everything together with a nut.
Note: I had my dad drill the holes because he’s much stronger than me. They were really really hard to drill. I don’t know what kind of metal these are made out of, but at one point it almost looked like we wouldn’t be able to do it. But it is possible! They weren’t exactly centered but we fixed that when expanding the corner holes.
Attaching the Two Drawers
Before we attach anything you should at least cut the pieces of plastic that go on top and in between the two drawers. Careful they’re not perfect squares. You’ll also need to make some holes in these for the four screws.
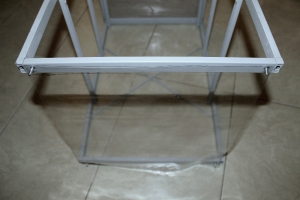
Bottom of Drawers w/ Plastic Sheet
Once you’re done (I cut all the plastic all at once a few months ago), put in the four new screws from the top and place/hang the plastic onto them. Now slowly tilt it over onto the other drawers and everything should fall into place. Make sure everything is facing the right way. Now you can screw in everything nice and tight. If you’re screws don’t quite lay flush it doesn’t matter as long as nothing falls apart when you’re handling them roughly.
If one of the drawers is leaning one way or the other, just unscrew the X shaped back and flip it 180 degrees. That should fix it.
You can place the top plastic beneath the mesh as well now. This is the only one really that can be put on at any point.
Protecting Everything from Dust
First Two Plastic Sheets
I had some leftover flexible plastic a while back so I cut them up and taped them above the guides for each of the drawers. I thought I about putting them inside the drawers themselves, but they wouldn’t protect the contents nearly as well and I didn’t have enough to completely cover the inner sides. The problem with what I did though was that the tape kept coming off all the time and the drawers would snag on the plastic. I highly suggest you use rigid plastic sheets if you can. Those you’ll probably be able to get away with just using some tape to hold them in place.
The only thing I could think of that stuck well but could still be removable was hot glue. I know, not the most elegant solution but it worked really well. First I’d glue all along one guide in short 10-15cm segments. Since it was flexible plastic, doing it in short segments wasn’t a problem and I didn’t have to be in as much of a hurry to place everything before the glue cooled.
Once one side was secure then I’d go to the other side and pull the plastic really taught. This is only important for this step and only really along the front.
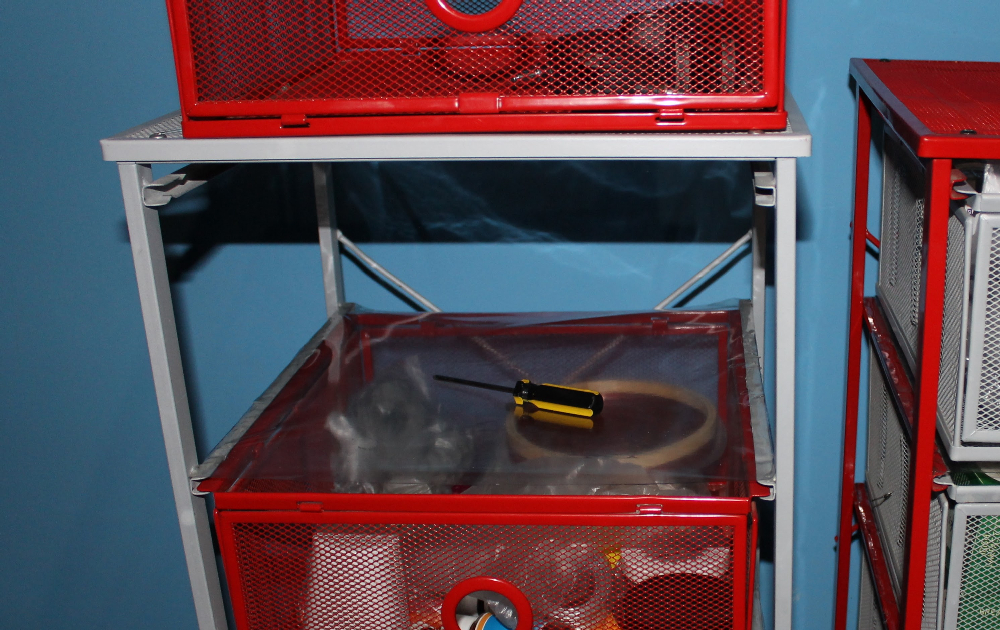
Plastic Closeup
As of now everything seems to be holding quite well (I’ll confirm in a week which is usually what it took the tape to get ruined). Update: They held up for a few months, but occasionally need to be re-glued. In the future I plan to replace these with rigid plastic so they can even be used as tiny shelves for papers and such, but for now I’m afraid that’d cause them to sag.
Smooth Gliding
When you’re putting the wheels back you’ll have some leftover wheels make sure the drawers get the nice ones so even with a lot of weight they’ll roll around nice and smooth.
Lastly, you might have noticed I flipped the colors. The drawers all now open and close smoothly, not as smoothly as red against red, but it’s a vast improvement overall.
And you’re done!
Not sure yet what to do with the metal meshes I didn’t use. I’ll edit this if I find some use for them. The wheels though are sure to go into some future project or other.