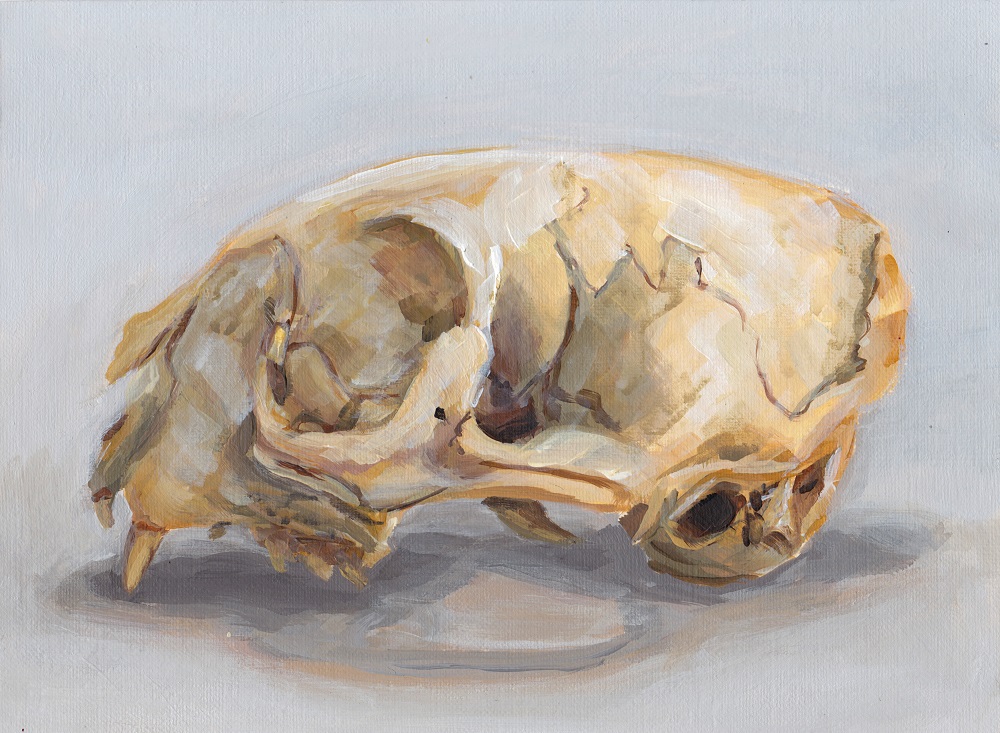
Animal Skull
Reference (from morgueFile): Image by tinabel
Painting an Animal Skull in Acrylics
In this video I talk you through my painting of an animal skull and how I tried to emphasize the colors.
Animal Skull
Reference (from morgueFile): Image by tinabel
In this video I talk you through my painting of an animal skull and how I tried to emphasize the colors.
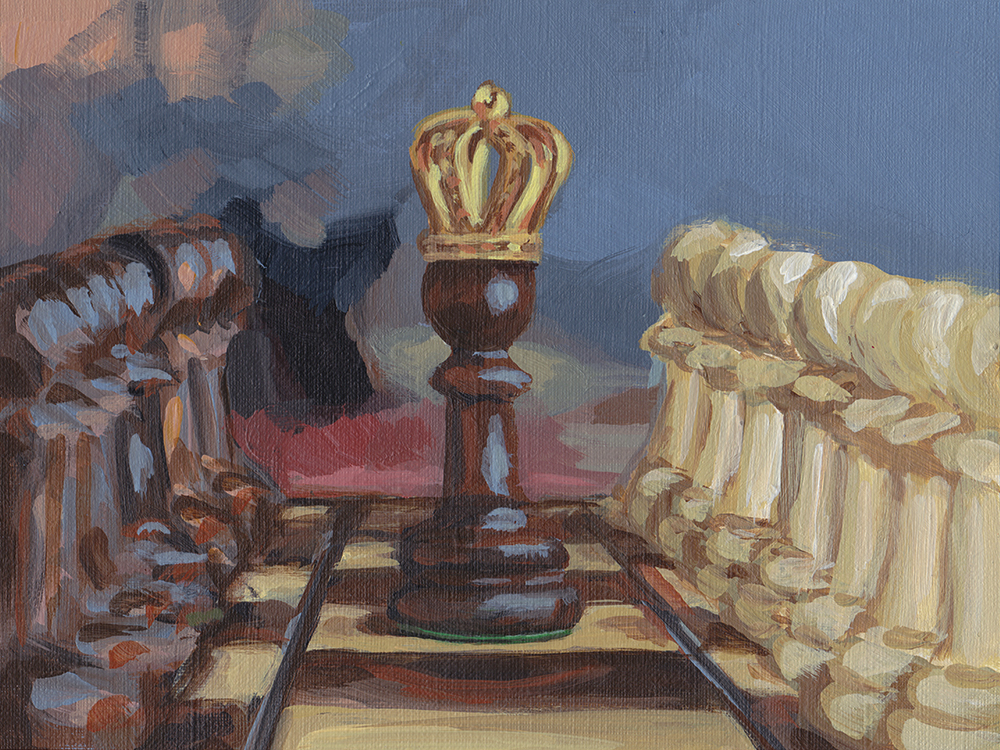
Crowned Pawn
Reference (from morgueFile: Imageby svklimkin
In this video I talk about trying to keep the the painting lose and a few things I tried to help that.
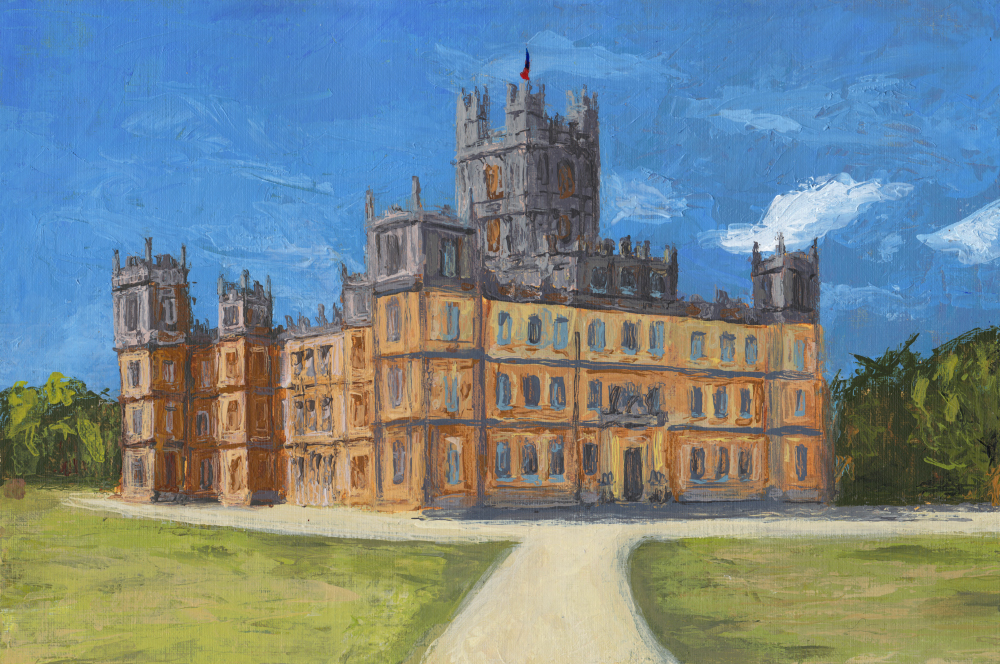
Highclere Castle
Reference (from morgueFile): Image by johninportland
In this video I experiment with a palette knife for the first time, and talk about how that helped force me to simply details, and also how to flatten warped canvas paper for when you need to make straight lines.
I really like painting and drawing buildings so two of the reference photos I had printed are castles. This one is Highclere Castle which most of you will probably recognize from Downton Abbey from Downton Abbey. It's on my ever growing list of places to go see. If it looks amazing in photos I can't imagine in real life.
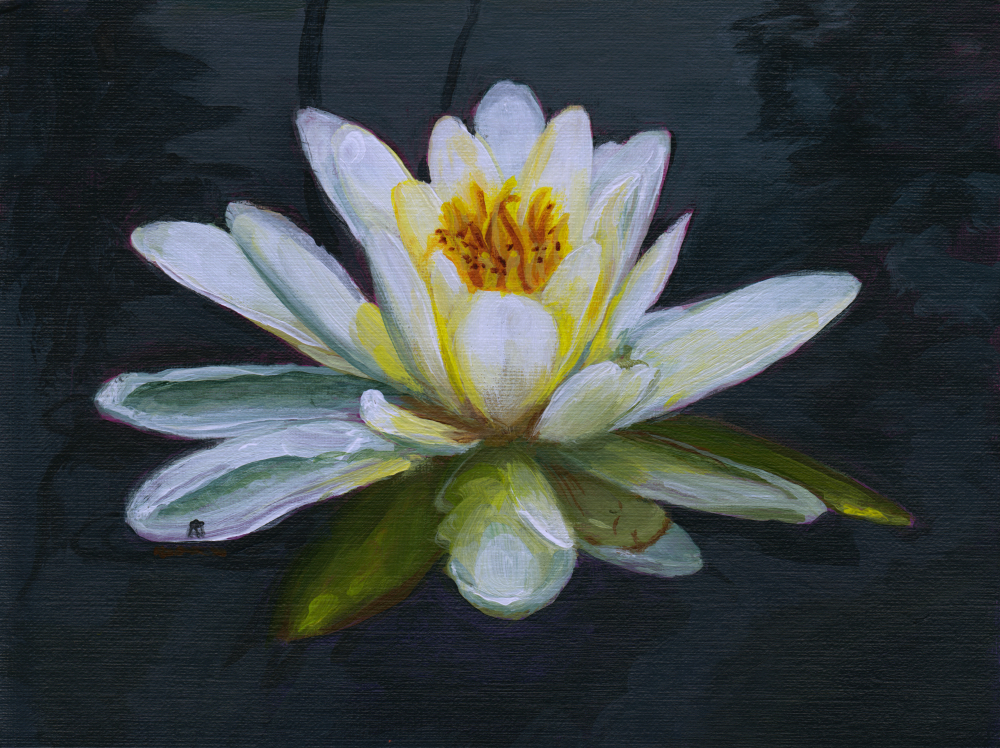
Water Lily
Reference (from morgueFile): Image by morethanordinary
This painting is for sale, contact me if you're interested.
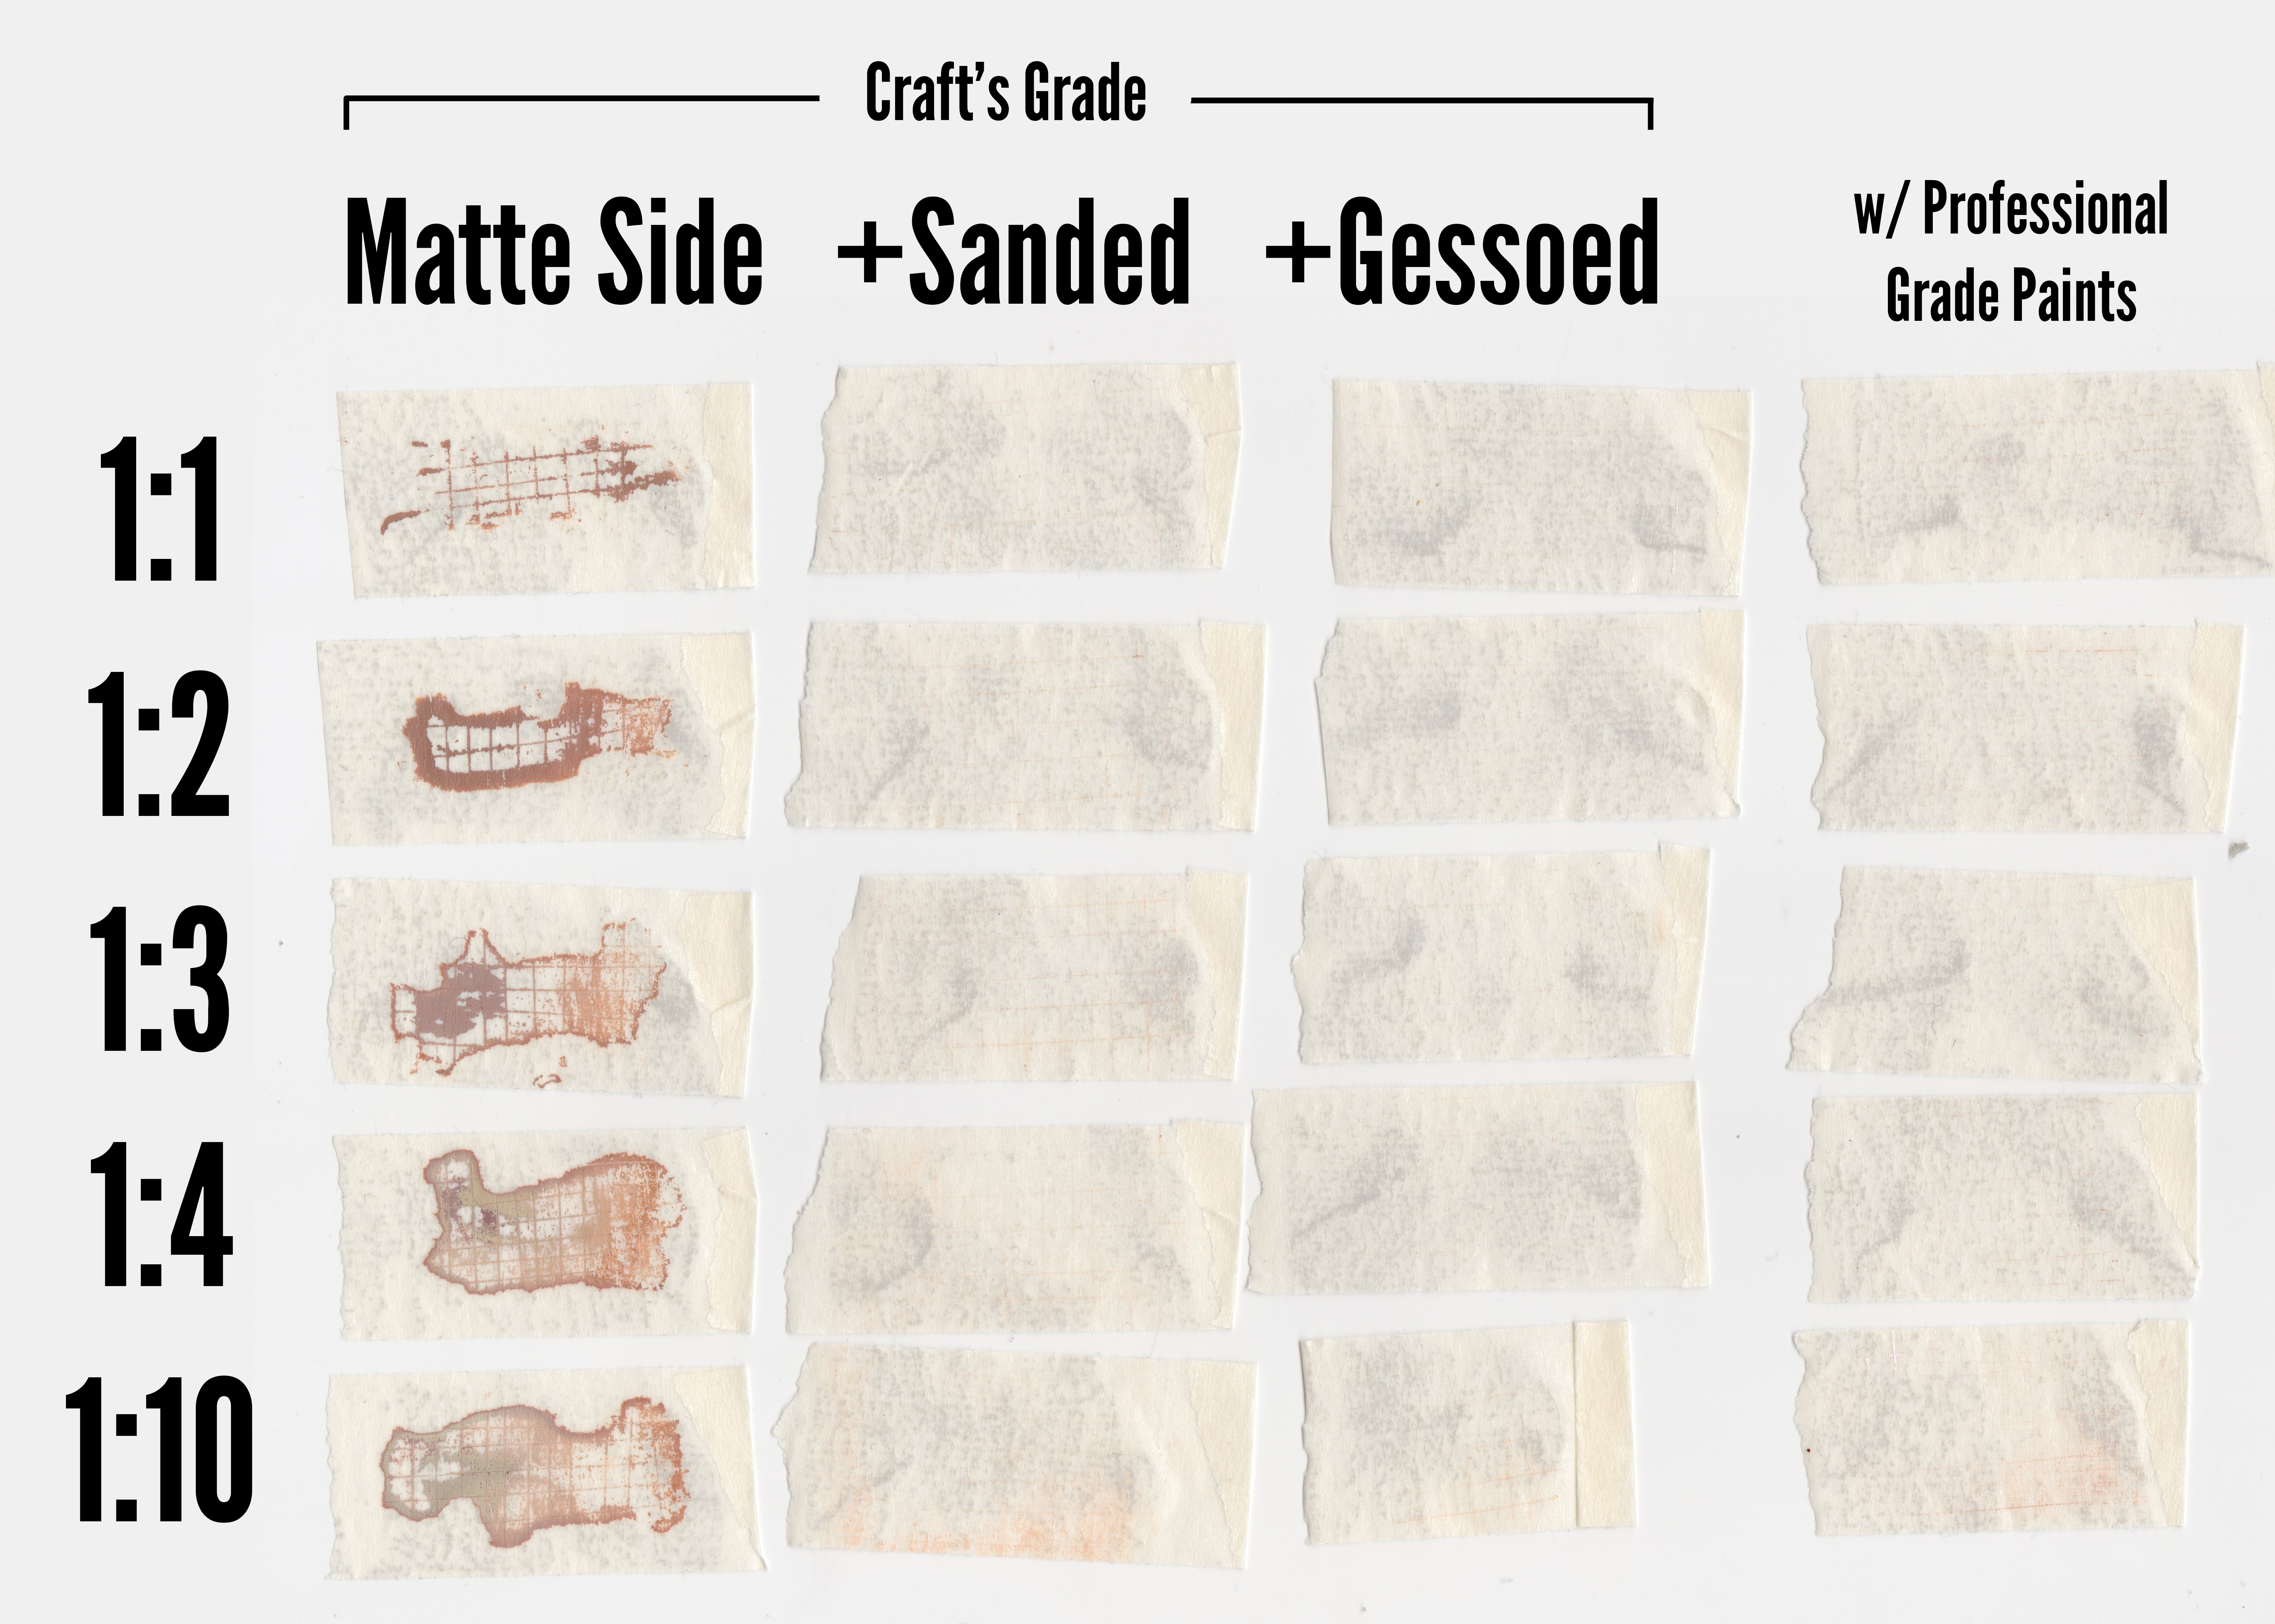
The links were in the last post but I put them here again: The first set of instructions I'd found on Will Kemp's blog in reply to him and the ones I found later on Golden's site on a page about testing surfaces in general.
Above is the scanned pieces of tape, right click > open image in new tab, to see them in full size.
The adhesion test video is in the next post.
This was the chart I kept for the drying tests. Temperatures were around 12 C for those days like I mentioned in the video. Probably around 20 C inside, maybe less (heater is off at night).
Regarding the "watercolors" I know I called them a watercolor substitute, but it's more like they've substituted watercolors for me specifically because they're slower drying, portable, and won't crack. But they're more like something between gouache and oils and yet they have a distinct sticky feel (like warm honey). They're more opaque then watercolors, but they stay wet longer, and yet they have that tendency to stay in that sticky watercolor stage on paper. My mix is about 1:1, more and they flow too much, less and they'd dry in the box because it's not airtight (if the box were airtight I could use less).
I also like them because I can paint at the consistency they're at without accidently over diluting them with water like I usually do watercolors. For example, for a sky, I'll outline the object, then I'll go back on the paper and spread the color around with a water-brush there.
One thing I forgot to mention is that you should use professional grade acrylics for them if you want them to keep their opacity. Additionally if you like gouache you can mix in a bit of titanium white with all your colors to make the even more opaque.
I will do a video with them in the future.

Skull Finished Painting
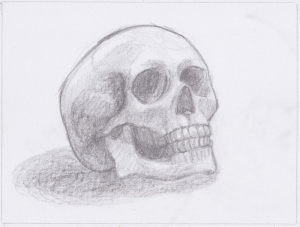
Initial Sketch
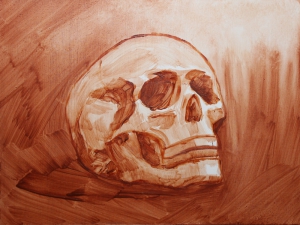
Underpainting
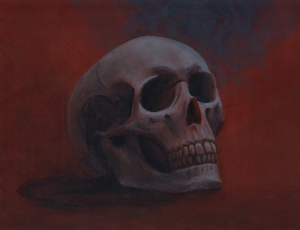
Skull Finished Painting
I did a lot of research several tests before trying the techniques I tried here. And the painting seems to be stable for now, but I can’t guarantee anything, please do your own tests with your own materials and draw your own conclusions. Usually if there are problems it tends to happen within the first few days. As of now (two weeks), the painting is stable enough. The paint has not cracked or peeled (not even from purposely trying to peel it with tape), and the plastic (it’s HIPS plastic) is in great condition (the medium heat from the blow dryer did not bend it out of shape). Update: I did do a swab test (softly rubbing a wet cotton swab on the surface) at two weeks and I did get some very minor lifting in the background, but still nothing with the tape and nothing where I then painted the light in with gray over that red background. So I don’t think it’s something to worry about as long as I add an isolation layer of pure medium over everything. Whatever lose pigments remain from the under-bound paint look like they’re easily contained by another proper layer of paint. Overall it satisfies me. I’ll report back further once I add this layer.The only thing is I painted all the way to the edge and the paint is kind of ragged there, liable to being accidentally peeled from handling roughly. Before I didn’t paint to the edges because I used the edges to handle the canvas paper. I kept doing that for a while even though I started to secure my pages because they were already marked for it. But for this I thought there was no point, well now I realize it’s probably better to continue that habit.
Also all the water made the plastic stick to the paper I was using to hang it from. I managed to unstick it and rub it off with just some water, but some of the gesso came off. I repainted it, and it’s all fine. Not really the fault of the plastic (just the sheer amount of water would have ruined a painting in canvas paper), but more bad planning on my part.
Sorry for the lateness I had a lot of trouble uploading because it was so long. There might be some audio gap/jumps because I had to split the video into parts to upload and the youtube editor is horrible for stitching them back together.
Bottle Cap Palette Containers Tutorial
Keeping Your Acrylic Paints Wet - Retarders
Keeping Your Acrylic Paints Wet - Stay Wet Palette
Springy Sketching Pen (Coming Soon)
Torso Tutorial (Planned)
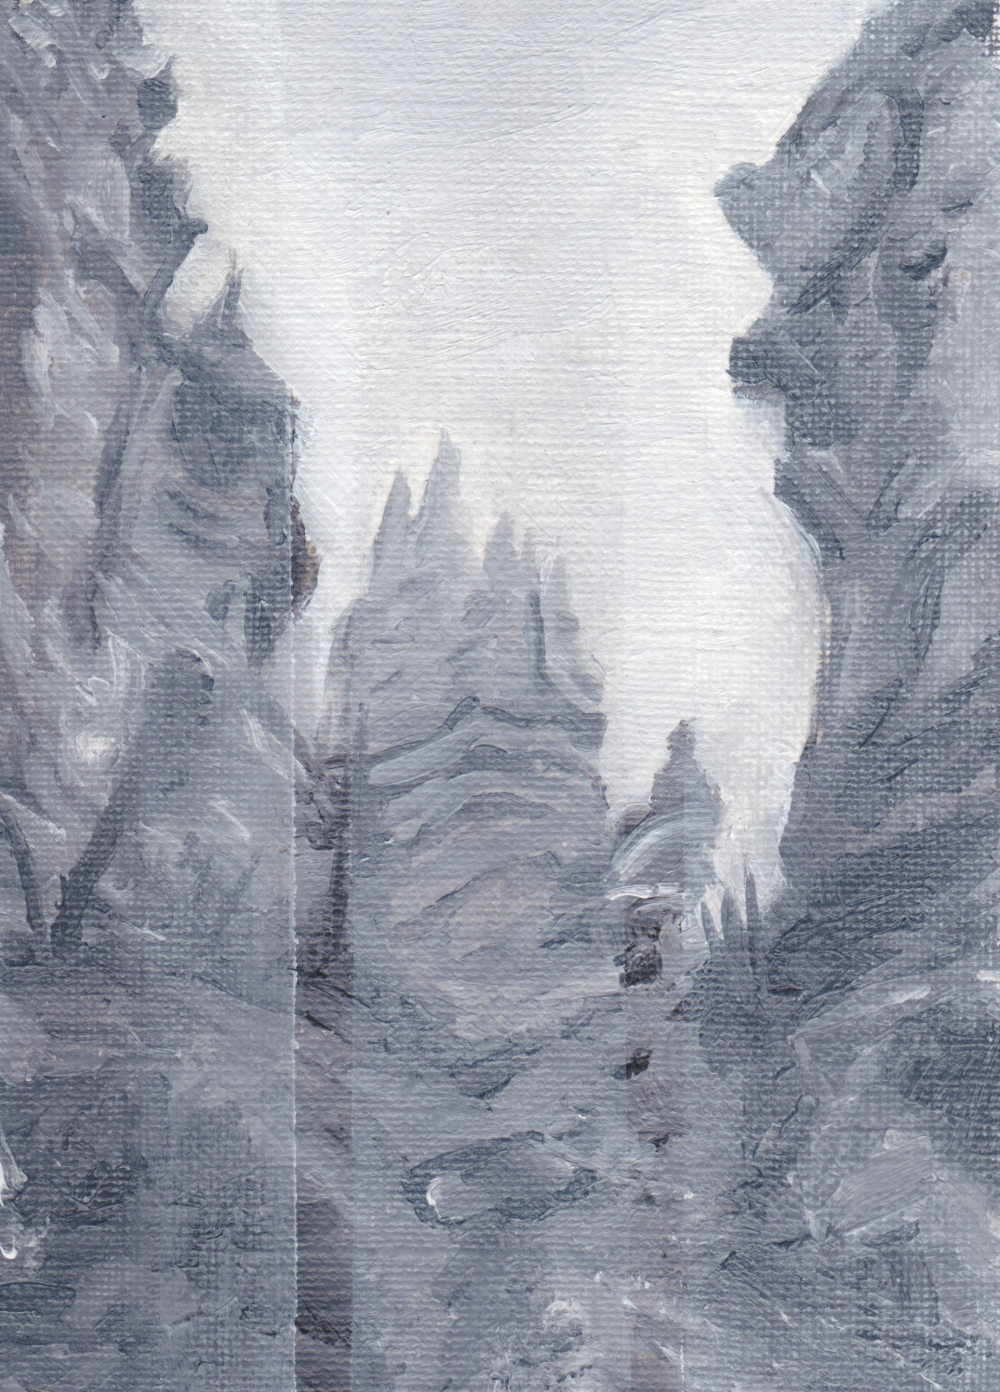
Painting of : Bryce Canyon by Anna Panáková / used under CC-BY
As I mentioned in the video I ended up using the painting to test some glazing techniques. You can see it's been divided into three sections. These were all done after the painting as touch dry. From left to right, my notes were as follows. Not the most precise, but they were meant as more of a starting point.
One part titanium white to 3-4 parts liquin. Can be wiped nearly clean (compared to 3). Canvas texture smoother (compared to 3)
A bit of titanium white, couple drops of turps, and a bit of liquin, mixed to kind of a milky consistency. Tends to really sink into the canvas but smoothes fine with a brush, and ended up with the least texture. Can be wiped nearly clean (compared to 3).
Pure titanium white. Doing it with just a brush was impossible (might be possible with zinc white) so I used my thumb and that also helped reduce the canvas texture. And afterwards I wiped away the excess paint with a rag but it's hard to wipe away completely.
To avoid using turps I think the best solution would be to just prime and sand the canvas smooth so that paint doesn't get stuck in the canvas texture. With that even pure titanium white could probably be laid very thinly.