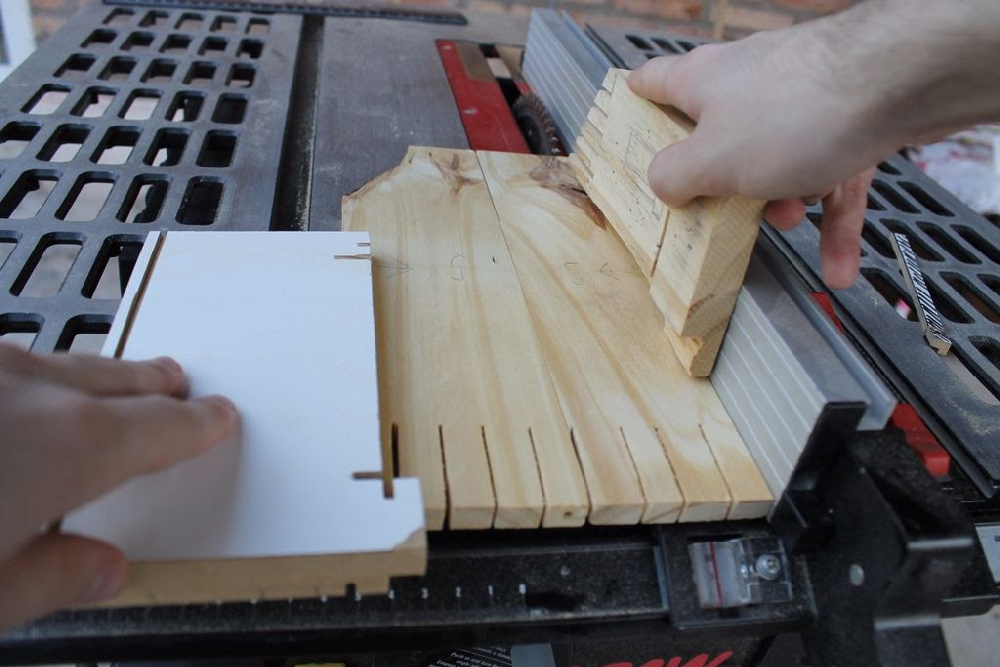
You can also find this post as an instructable.
I’ve also submitted this instructable to the Leftovers Challenge contest over there, so please vote for it if you like it.
You can also find this post as an instructable.
I’ve also submitted this instructable to the Leftovers Challenge contest over there, so please vote for it if you like it.
You can also find this post as an Instructable
I’d hoped to have my drawers done by now but they’ve taken longer than planned even though I’ve been working an average of one hour a day for a month, which is incredibly productive given my state. The structure is finished but it’s the little details that are taking a long time. I don’t want to stop posting completely though so in the meantime I’ll be making a few posts about the things I did to make the project easier on myself. These will technically be posted in reverse order that I made them because I only have the prototypes now, I didn’t actually make the finished tools.
Also since figuring out a method to get paid I’ve been working on creating a Patreon, and getting a YouTube channel set up and everything so I’ve been very busy. It’s not done yet, but if you want to support me check it out and/or share my posts.
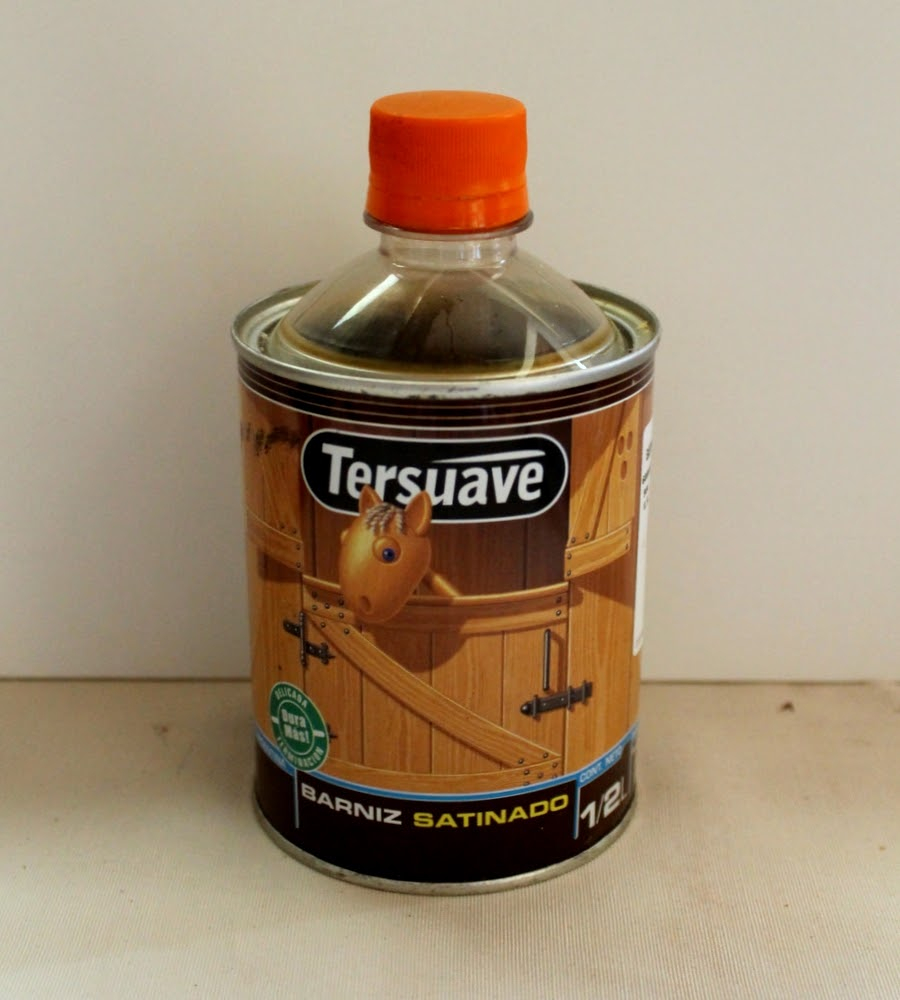
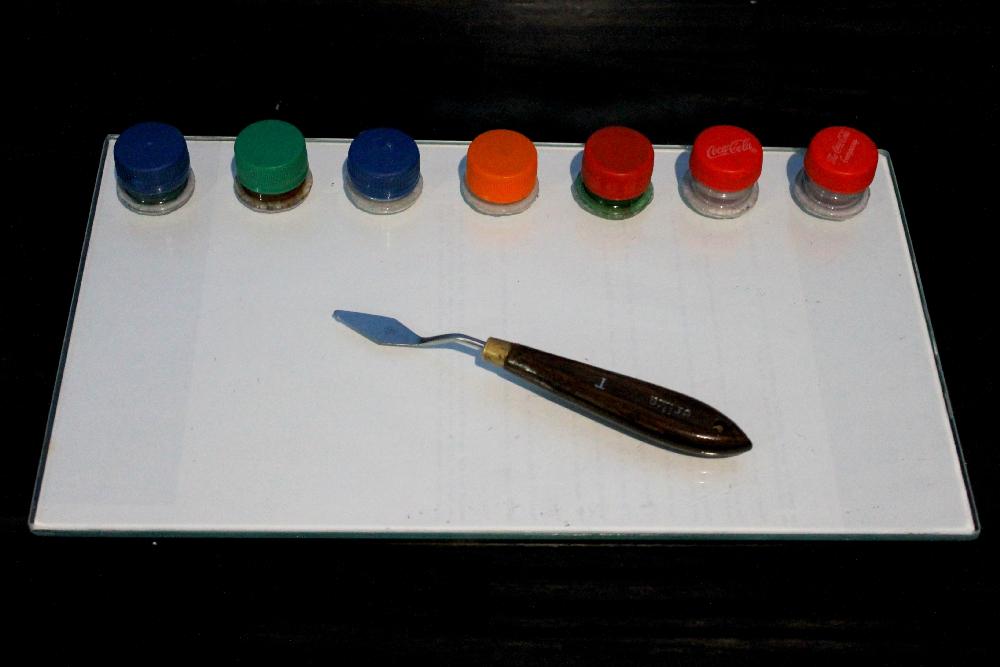
We all know what a pain it is to pour paint out. I tried to google to see if there was some sort of life hack for this but found none so I made my own. I honestly don’t even know why we still use cans shaped like they are. I get not using plastic because the metal is probably easier to recycle and more resistant (plus it keeps out light), but surely they could add better lids. This isn’t so much a problem on big cans for me, so this solution doesn’t work for them. With bigger cans you usually need to use large amounts at once and you tend to use the can all at once (say to paint a room) so controlling the amount isn’t such a problem. But with small cans this works great and I’m sure you could modify this to something larger if you find a large enough bottle, or you could pour larger cans into smaller empty ones and reuse them if say you bought something in bulk but only use a small amount at a time.
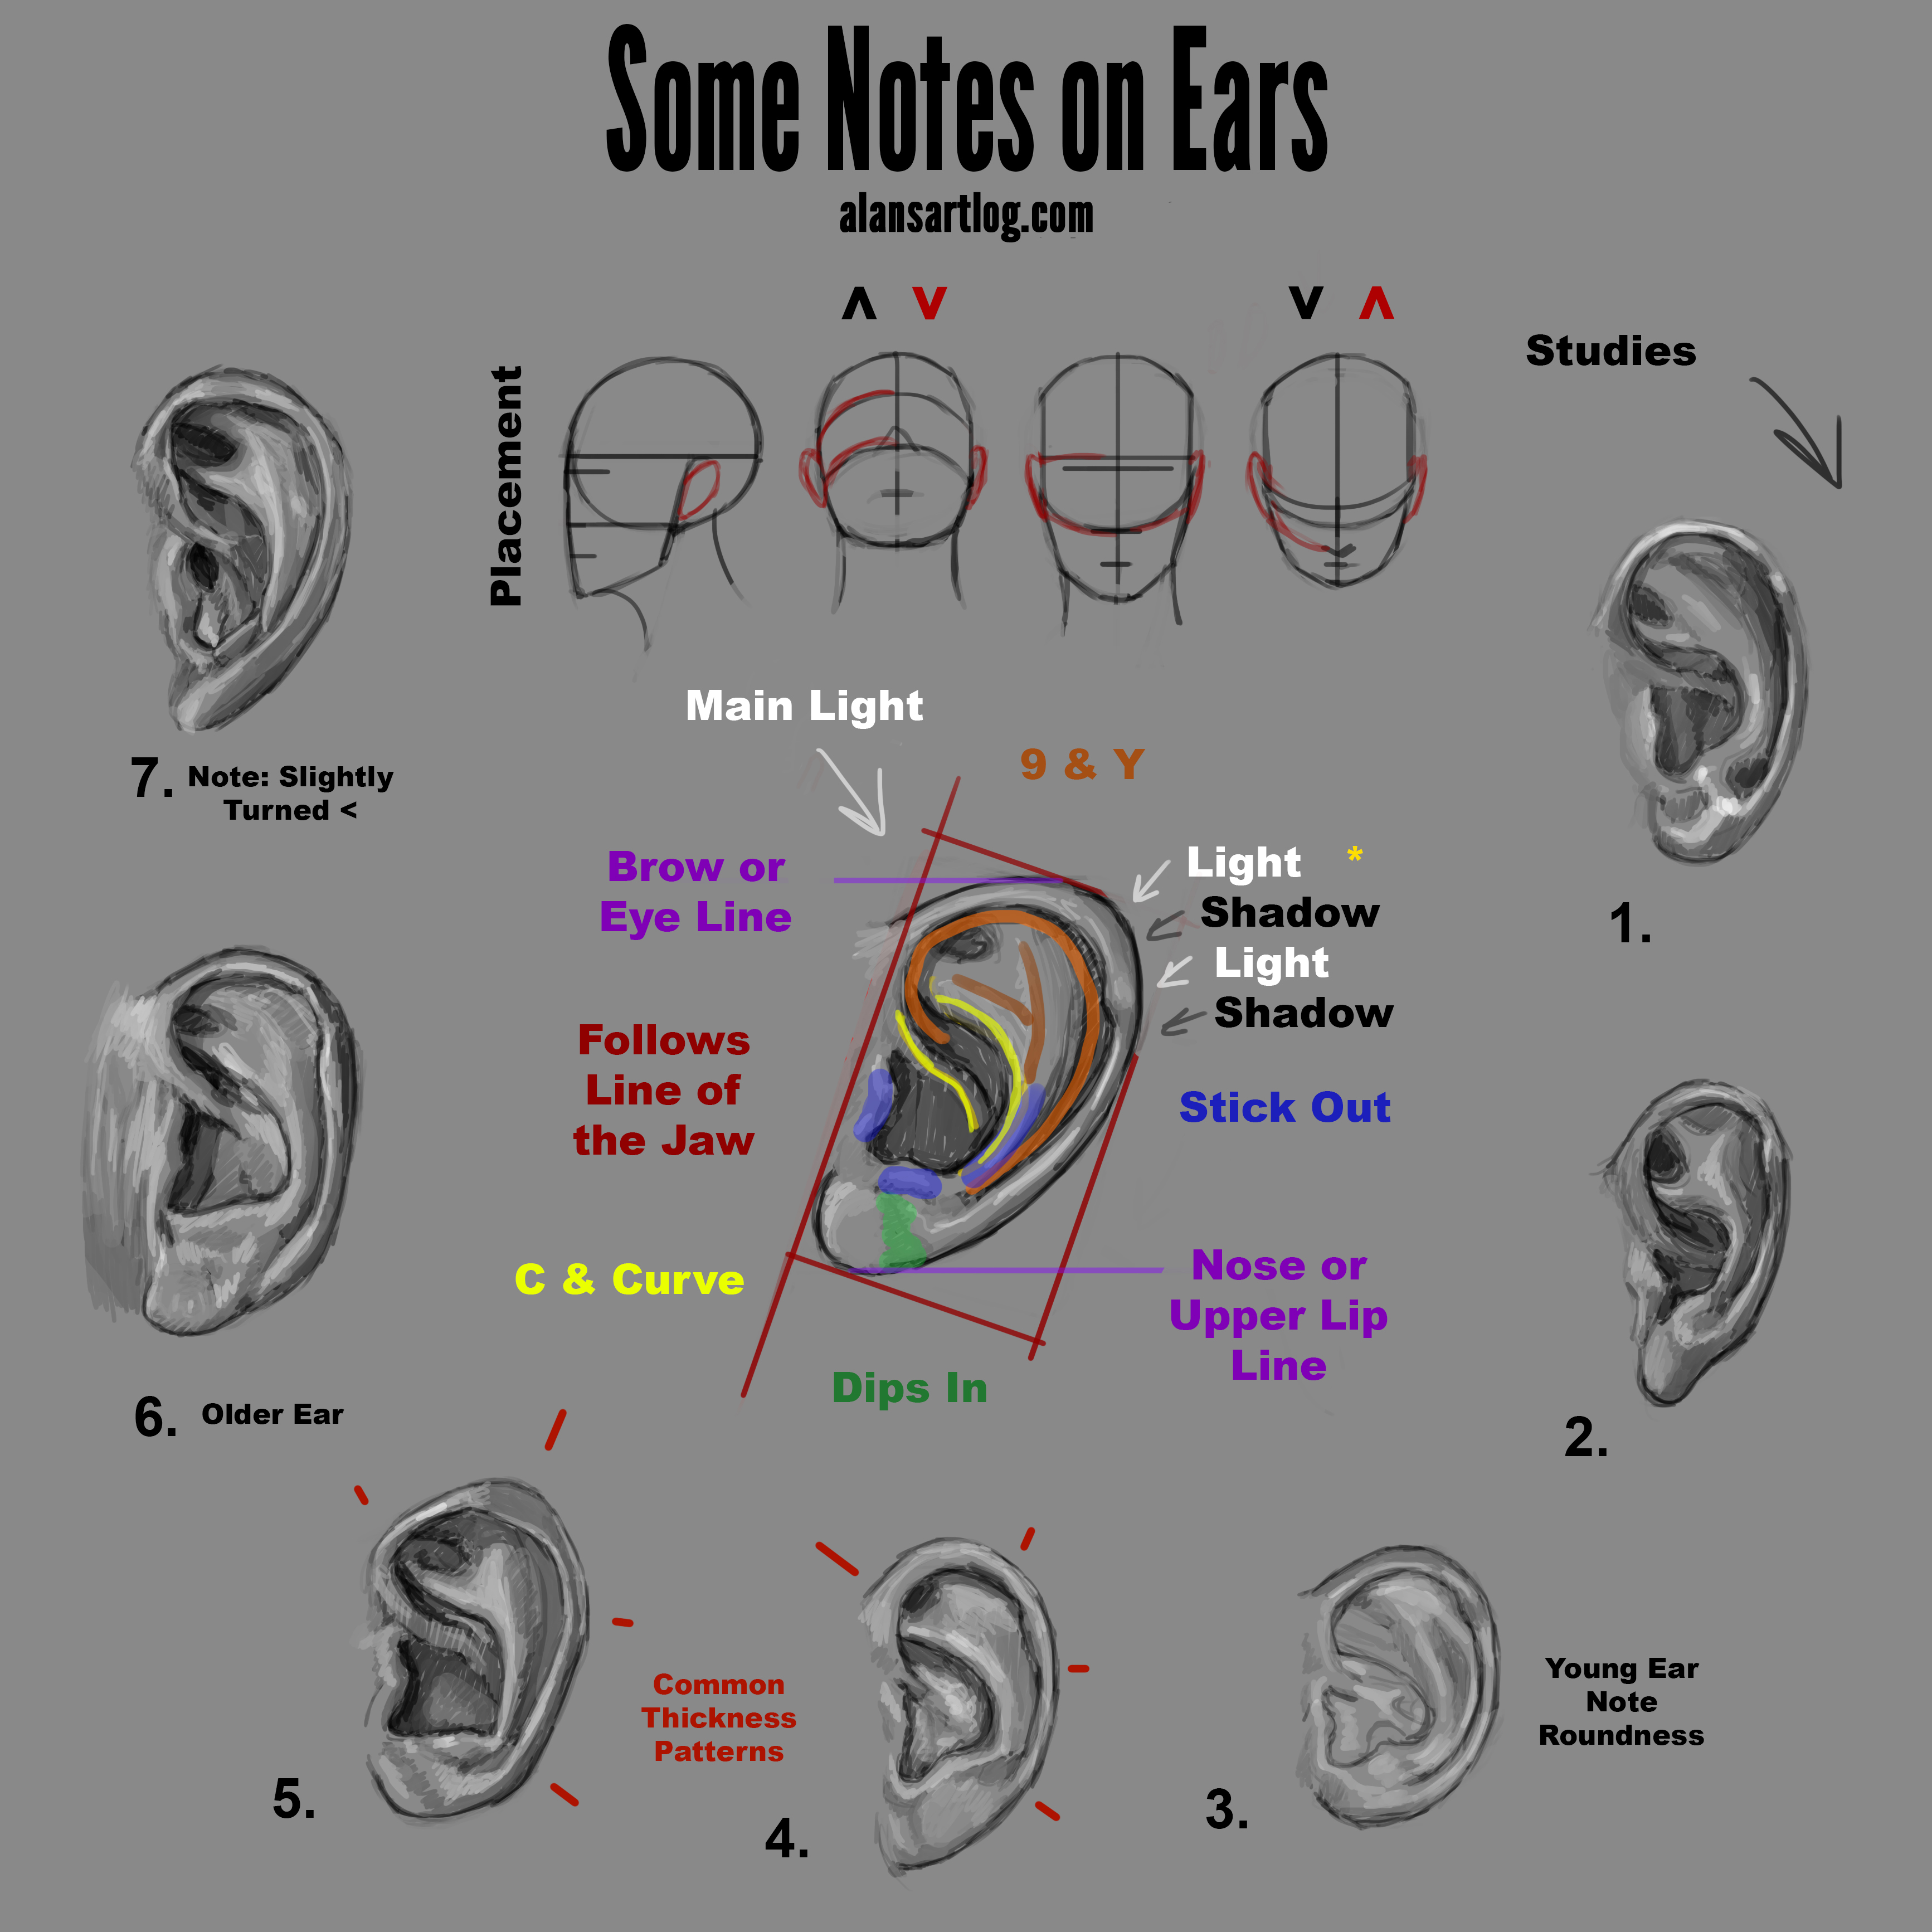
I was doing a very realistic portrait from scratch and I was having some trouble with the ear so I thought I’d do some ear studies and record it while I’m at it. The best way really to learn how to draw something is to draw it until you can draw it without reference. There’s no way around the hard boring work that studies can be. Looking at videos and posts will help guide you on what to observe and pay attention to, and mistakes to avoid, but nothing can replace practice.
A great place to get reference images for studies is morgueFile. You could also look around Flickr and such for CC licensed images but if you’ll be posting your work anywhere, those require crediting. morgueFile was made with artists in mind, as long as you modify the image you can do whatever you want with your work and that can be useful so you can just worry about doing your study and not whether you can share it later or you have to attach a giant list of credits.
I planned on talking about how to paint the ear and how it can be lit up from behind (subsurface scattering), but the video was too long already. I’ll do a second one and repost this post when I upload it. I’ve got some cool stuff ready for that video.
I think, I hope. This video was kind of nightmare to make. My computer was throwing blue screens. Turns out the damn video cache was in the wrong place. Also my internet sucks and the files are huge. Just want to mention this because I discovered this cool site called clipchamp that compresses your videos extremely well. I mean, it’s kind of astonishing. Even set on high quality it shrunk a 380MB file to 60MB! (ignore the estimate they give it’s way off). And you can queue the YouTube upload, so you can leave it to do the whole process overnight. I’m sure Premiere can probably compress as well, but I’m not very familiar with all the export settings and this is super easy.
This post is also available as an instructble.

I added a piece of paper so you can see the glass better. I plan on adding contact paper and painting the back gray.
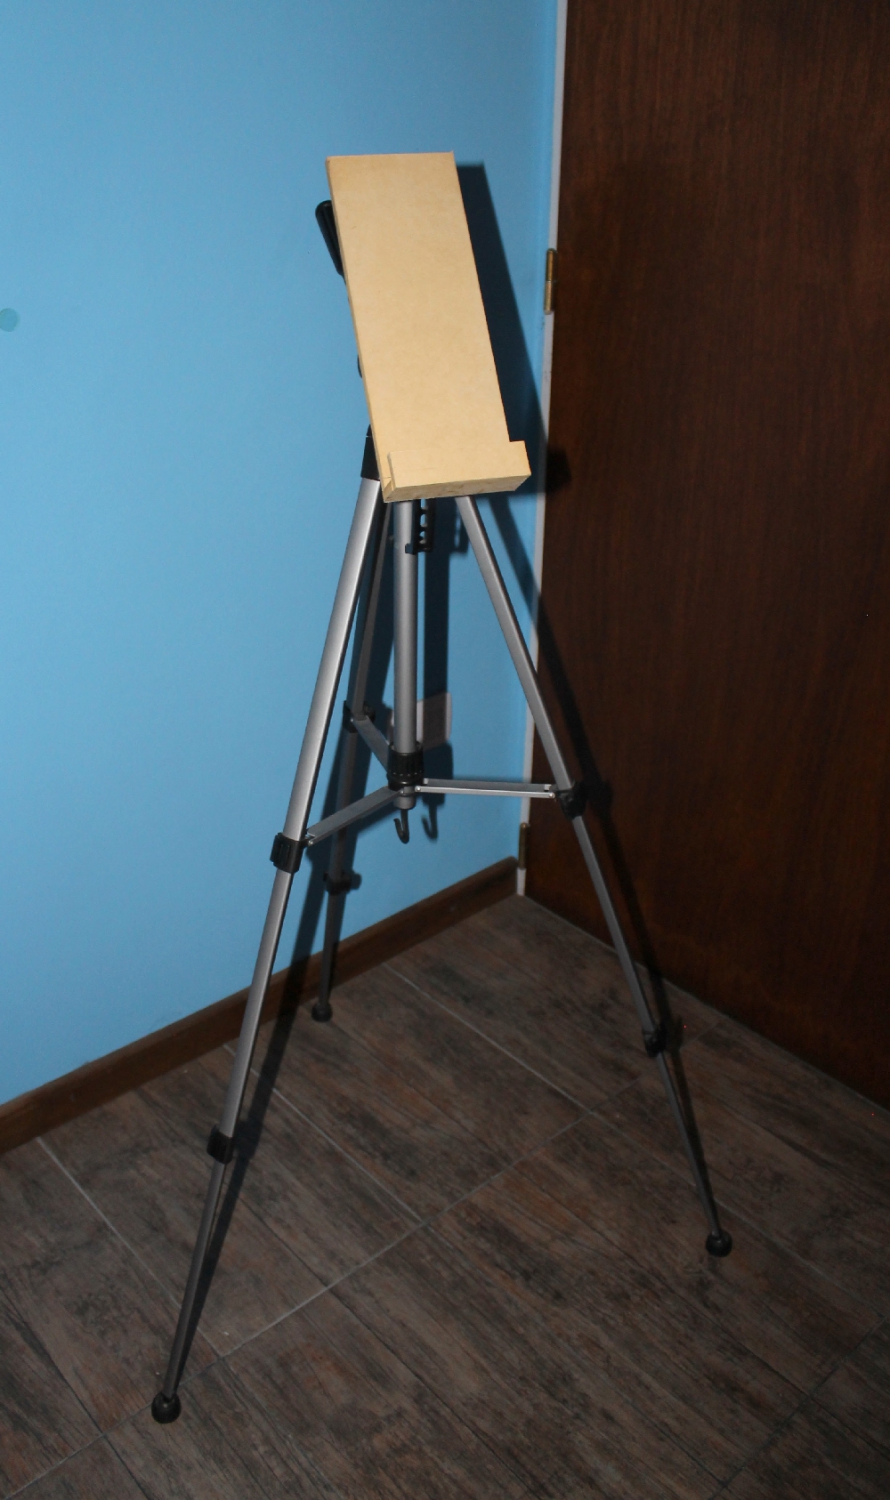
Tripod Easel
I’m poor and cheap so there's no way I would ever spend money on an art easel. I might make one someday, but I’ve never actually worked on one. I was just curious as to the experience, so yet another reason to not spend a bunch of money on something I might never use again.
Plus I have an easel looking thing, what other reason do I need to mess with my tripod?
Perhaps I shouldn’t say that. No tripods were harmed in this process.
When I first got my camera I knew next to zero about photography. I had heard about magic lantern but I was too afraid to break something so I never got it and eventually forgot about it. Lately though I’ve been wanting to push the limits on my camera It’s been broken in, I know more about photography, and I’ve finally gotten some vital accessories like a tripod and a remote control.
I really like macro photography and I’m also interested in doing small stop motion animations with the ship models I plan to build so I was looking up ways to increase the depth of field (increasing the depth of field is what makes them not look like miniatures). I’d come up with the idea of taking several pictures at different focuses (focus stacking, though I didn’t know this was an actual thing that had a name) but that hadn’t worked well without a tripod. Now that I had a tripod I thought I’d test it again. It worked better, but there was no way to adjust it the same every single time the way I needed.
My mind was already working away in the background suggesting all kinds of complex jigs, when I finally thought I should probably do a Google search to see if this is possible with the Canon software that lets you control the camera from your computer. It’s not, but apparently there were other programs that could do this very thing. Well I searched around some more because I was also interested in finding if there was some way to improve the video (there isn’t, or at least it’s not noticeable), and magic lantern came up. Turns out it had a focus stacking feature. It was also much easier to install than I anticipated.